Top Figma Plugins for App Designers
Figma plugins for app designers are tools or extensions available through the Figma community that extend Figma’s functionality and help […]
Published Jul 3, 2026
Learn how to create an iPhone mockup in Figma using ready-made templates, design realistic 3D mockups, and produce high-converting visuals quickly.
11 min
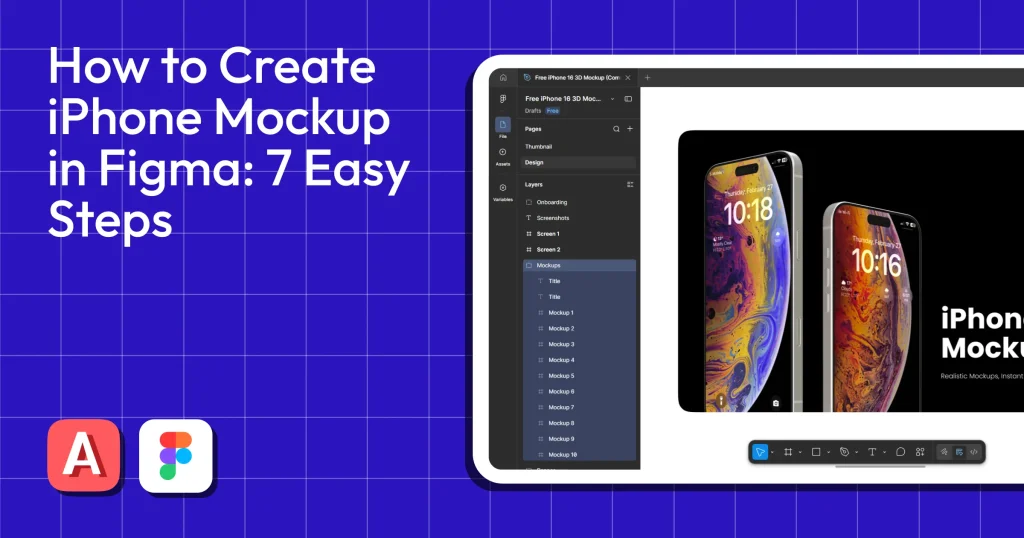
Creating iPhone mockups can quickly become repetitive and time-consuming, which is why most app developers start with Figma.
To create iPhone mockup in Figma, there are three main approaches, designing from scratch (requires strong Figma skills), using a Figma iPhone mockup template from the Figma community (fast and beginner-friendly), or using plugins like Angle Mockups.
Although Figma is a popular design tool, it can fall short when speed and accessibility matter to you.
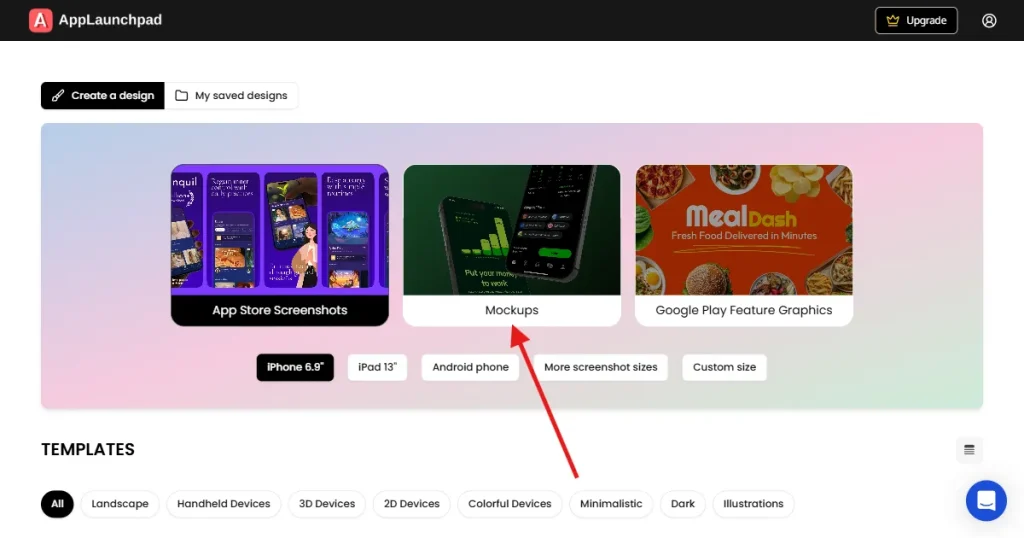
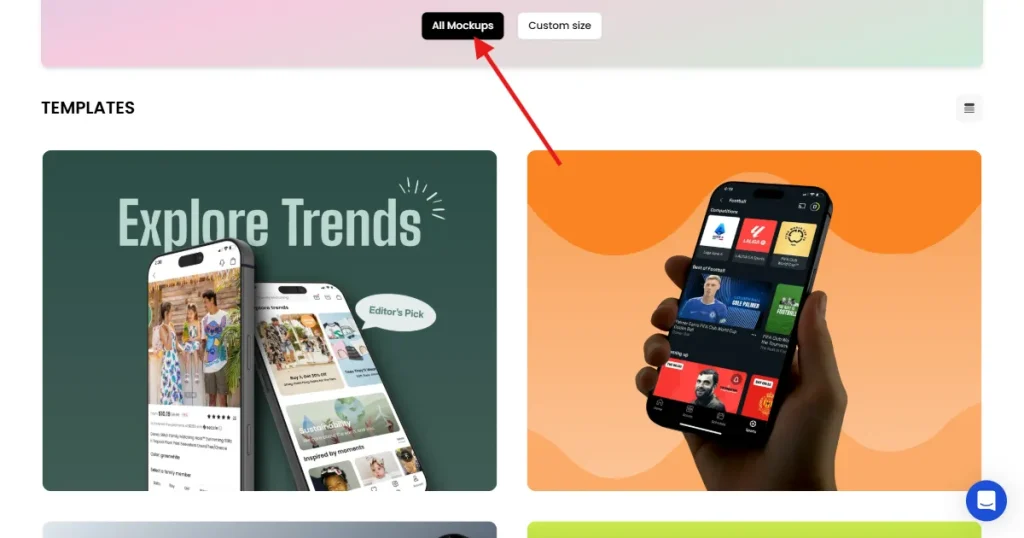
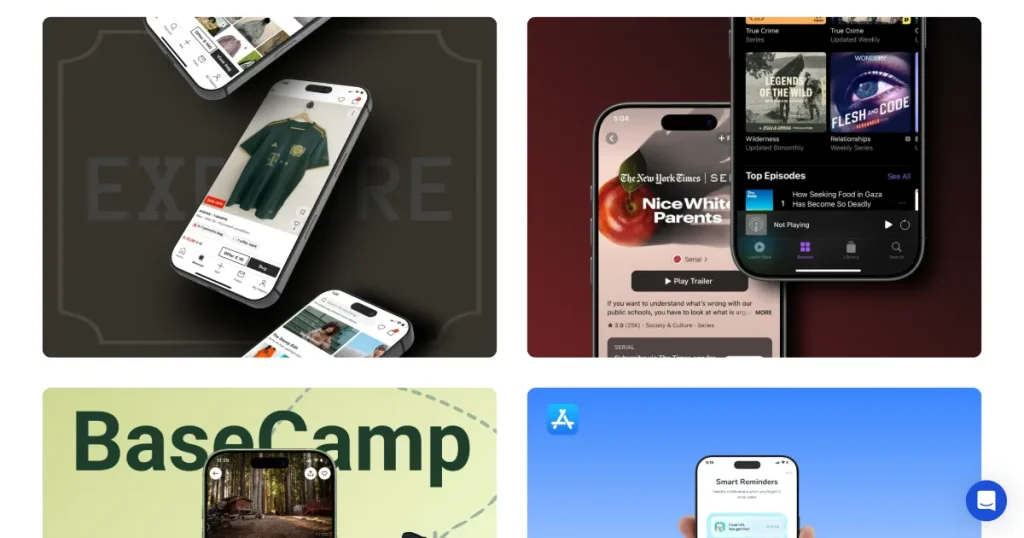
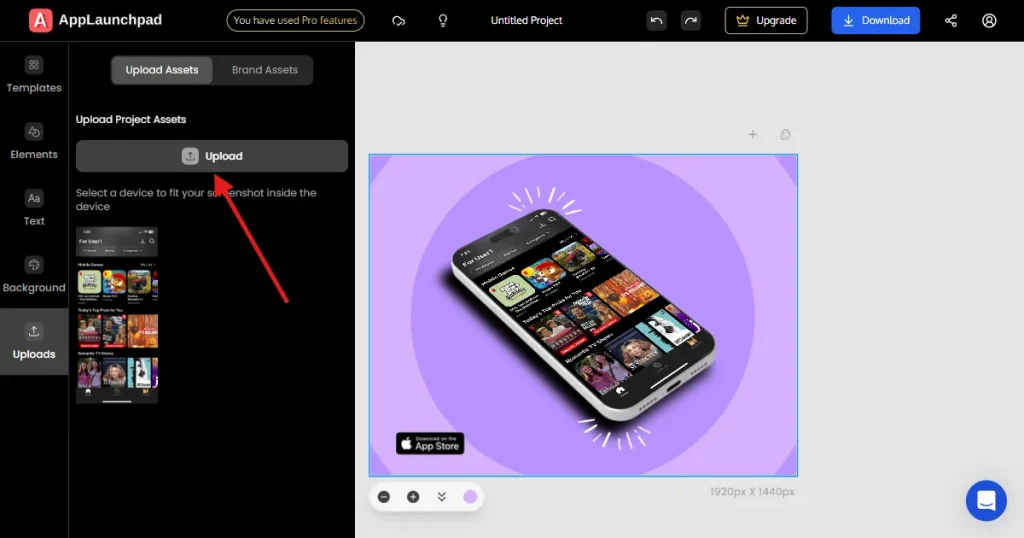
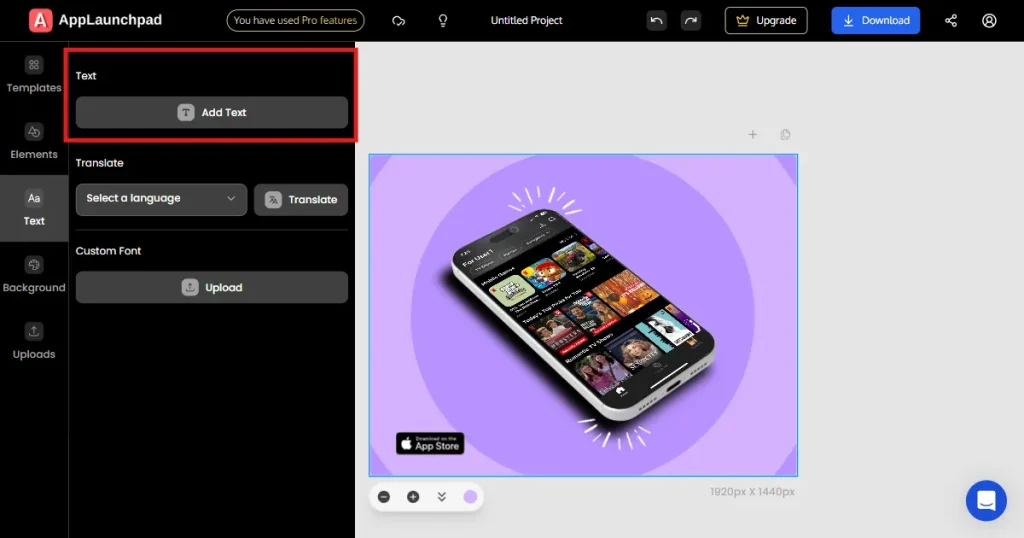
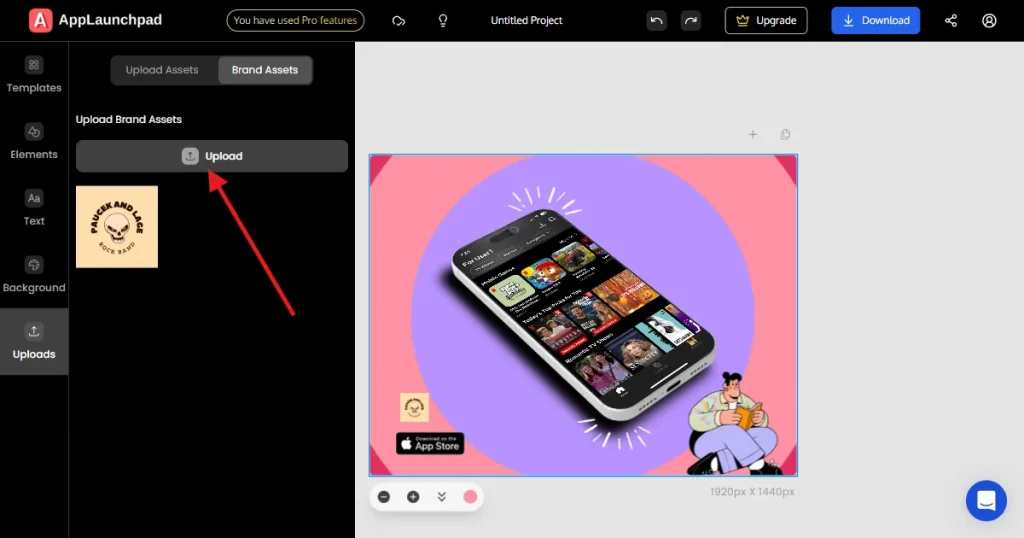
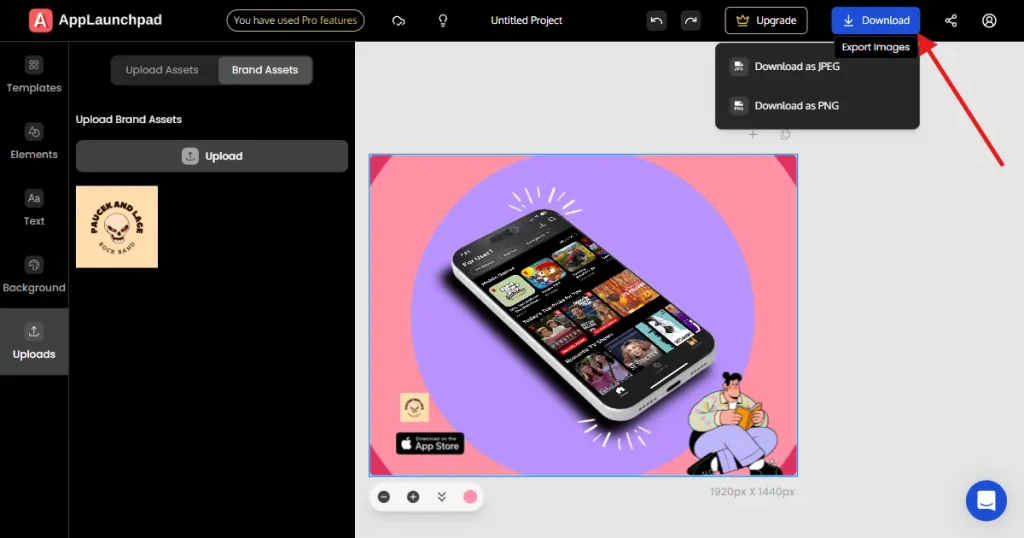
That’s where AppLaunchpad works as a simpler Figma alternative. For iPhone mockups. It lets you create 3D iPhone mockups with a much simpler process. All you have to do is pick an iPhone mockup template, add your app screens, and download the final, watermark-free mockup.
Figma is a cloud-based UI/UX design tool used to create interfaces for apps, websites, and software. It runs directly in the browser, eliminating the need for heavy installations or local file management.
It was started by Dylan Field and Evan Wallace and launched in 2016. Since everything is online, you do not need to install anything or worry about large files on your computer.
If you want to create iPhone mockup in Figma, the process is simpler than most designers expect. Its core advantage is real-time collaboration, which allows multiple users to design, edit, and comment on the same file simultaneously.
This collaborative setup makes it easier for teams to create iPhone mockup in Figma together in real time.
Key features for iPhone mockups:
Why designers prefer it:
Figma is a top choice for making and customizing iPhone mockups, especially if you want full control and want to work with a team.
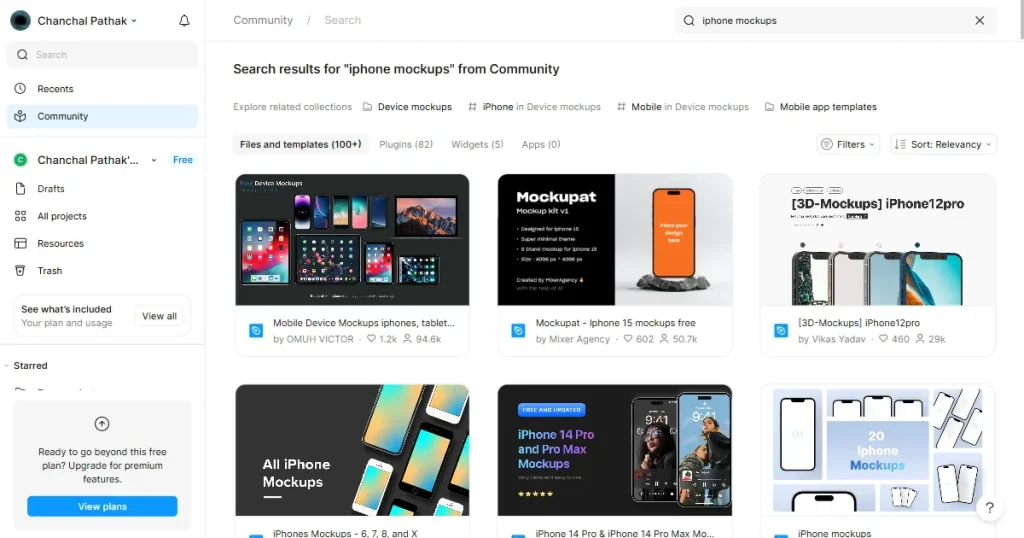
Most beginners create iPhone mockup in Figma using ready-made templates from the Figma community. Figma iPhone mockup templates are pre-designed files where you can add your app screens into realistic iPhone frames. These templates are used to present app designs in App Store screenshots, client presentations, and portfolios.
The biggest advantage is how easy they are to use. You add your screen, and the template handles the framing, alignment, and style for you.
Available styles:
You can easily customize these templates. They work with the latest iPhones, including the iPhone 17, iPhone 16 Pro Max, as well as iPhone 15 and 14, and let you change the background, angles, and layout to fit your needs.
There are many free, ready-to-use Figma iPhone mockup templates in the Figma Community. Plugins like Angle Mockups can quickly turn your flat screens into angled mockups, so you do not have to do manual edits.
Ultimately, these templates turn your raw UI screens into polished, ready-to-publish visuals in minutes. If speed matters, Figma iPhone mockup templates are the easiest way to create iPhone mockup in Figma without design experience.
Follow these steps to create iPhone mockup in Figma from scratch using templates and plugins.
Step 1: Install Figma and create your account
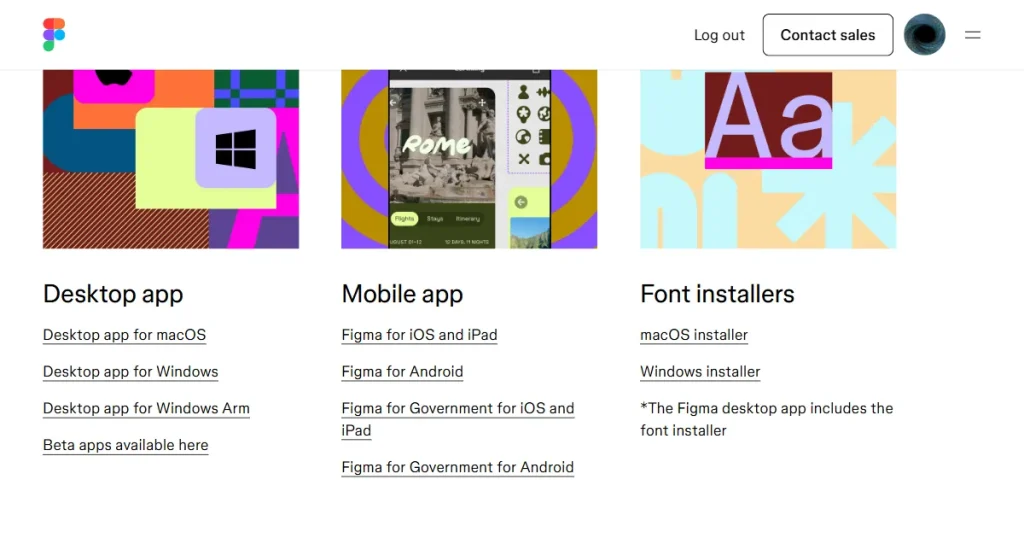
Sign up for Figma and start a new file. Use the desktop app when working with large or high-resolution mockup files for better performance. Organize your files right away to keep things tidy, and use separate files for different app versions or campaigns.
Step 2: Search and select an iPhone mockup template
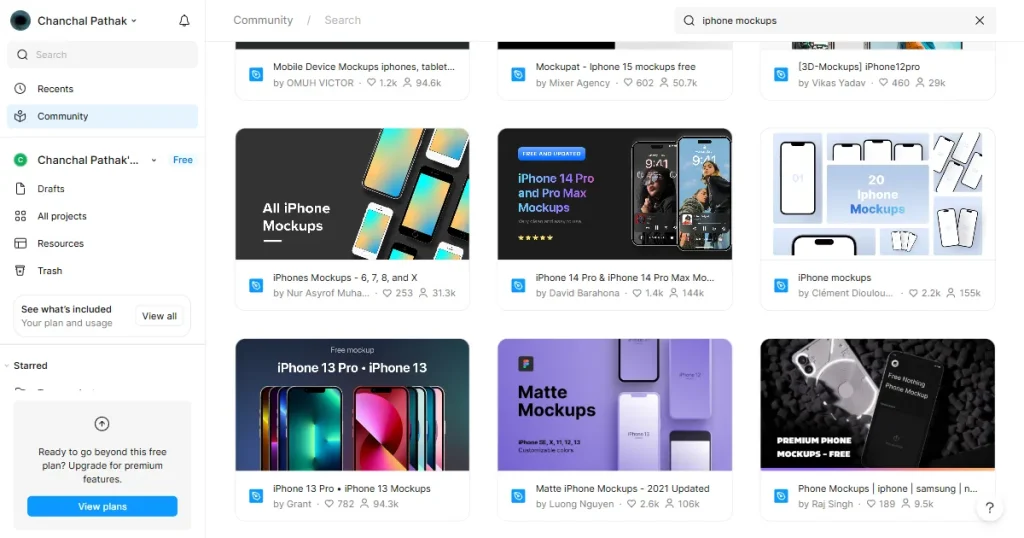
The first step to create iPhone mockup in Figma is selecting the right template. Go to the Figma Community and search for iPhone mockups. Choose Figma iPhone mockup templates with modern device frames and high engagement (likes/downloads indicate quality).
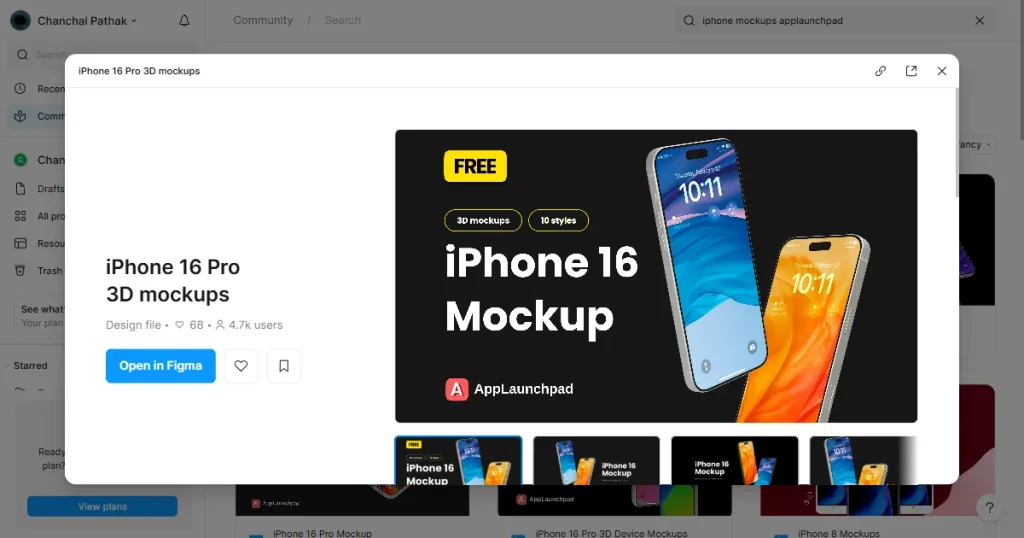
Open it in your workspace. Avoid old iPhone designs unless you need them for older devices.
Step 3: Navigate to the Design page
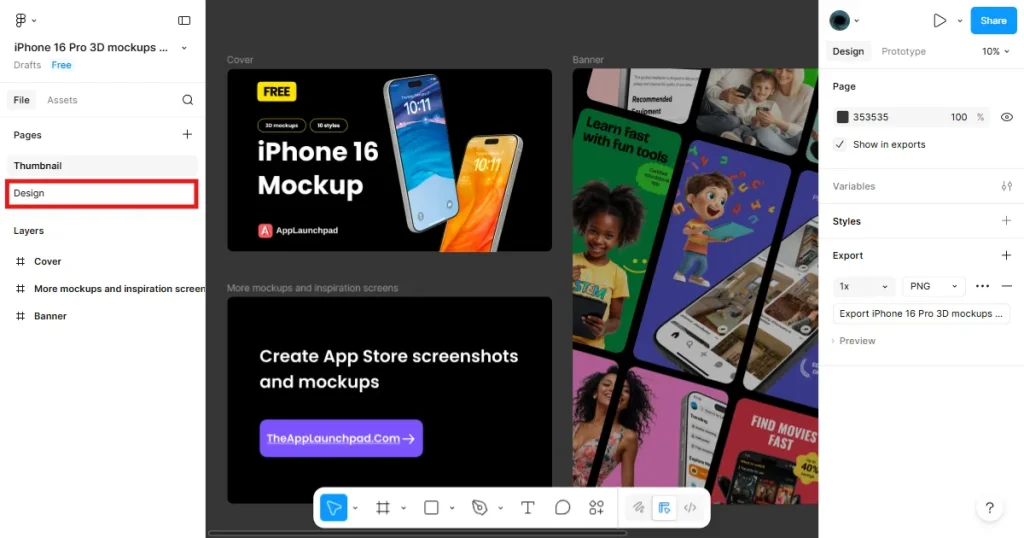
Open the Pages panel in your file and go to the Design page, where you will usually find the mockups. Check out the layouts and pick one you like. Delete any pages or frames you do not need to keep your file running smoothly.
Step 4: Install and enable the Angle Mockups plugin
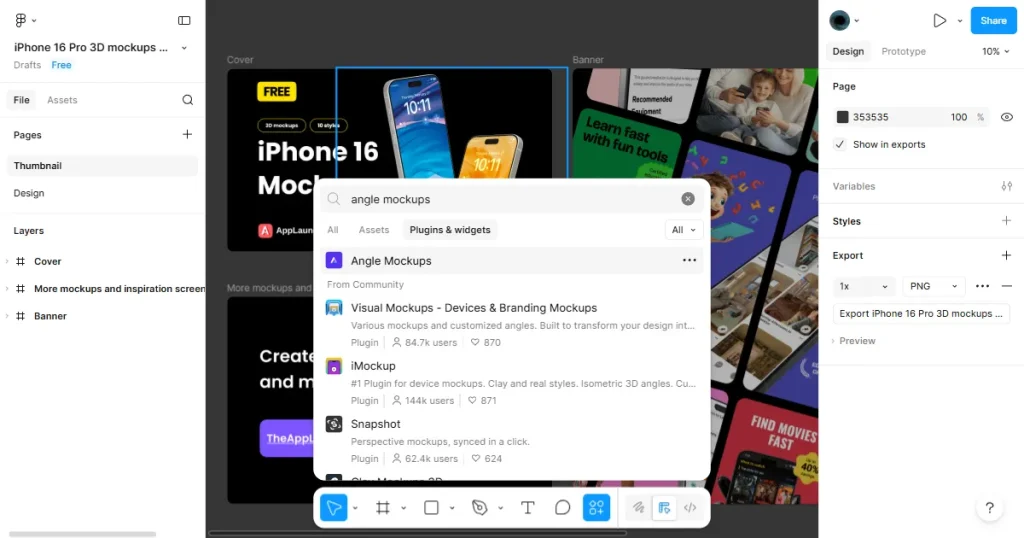
Go to Actions, then choose Plugins & Widgets, and search for the Angle Mockups plugin. Install it and save it for later. Plugins help you create iPhone mockup in Figma with realistic angles and depth. Make sure you select the correct vector layer before applying it.
Step 5: Insert your iPhone app screens
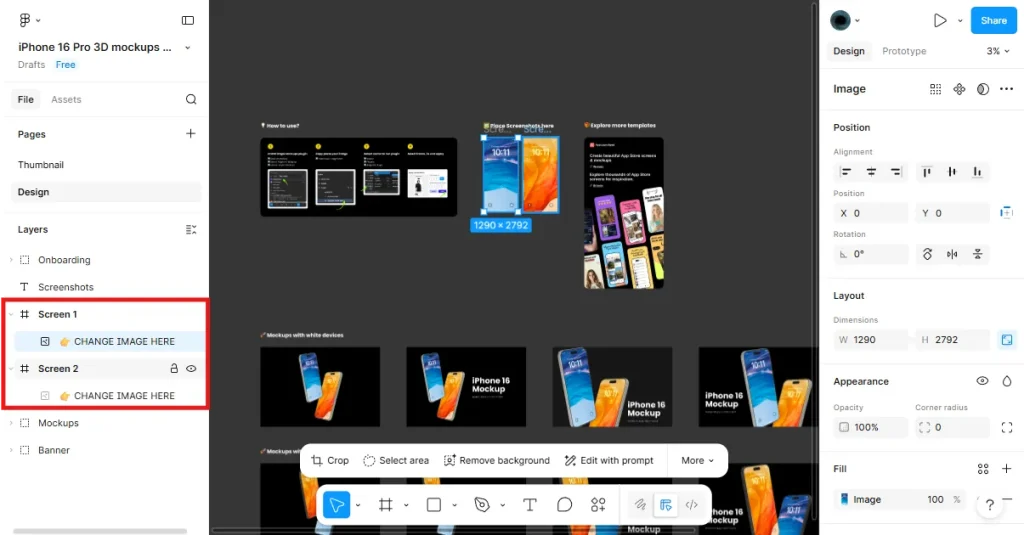
To properly create iPhone mockup in Figma, you need to place your screens inside the correct layers. Open the Layers panel and find a layer called Change Image Here, then paste your app screenshot into this layer.
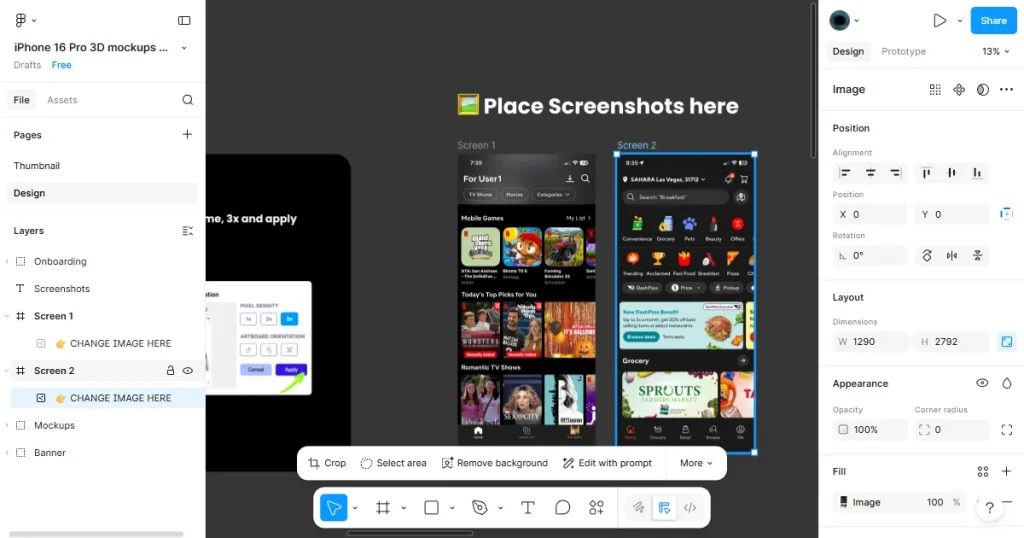
Do the same for any other screens you want to add. Check that your screenshots are well-aligned within the device frame. Use PNG files for the best quality and avoid stretching or distorting your images.
Step 6: Run the Angle Mockups plugin
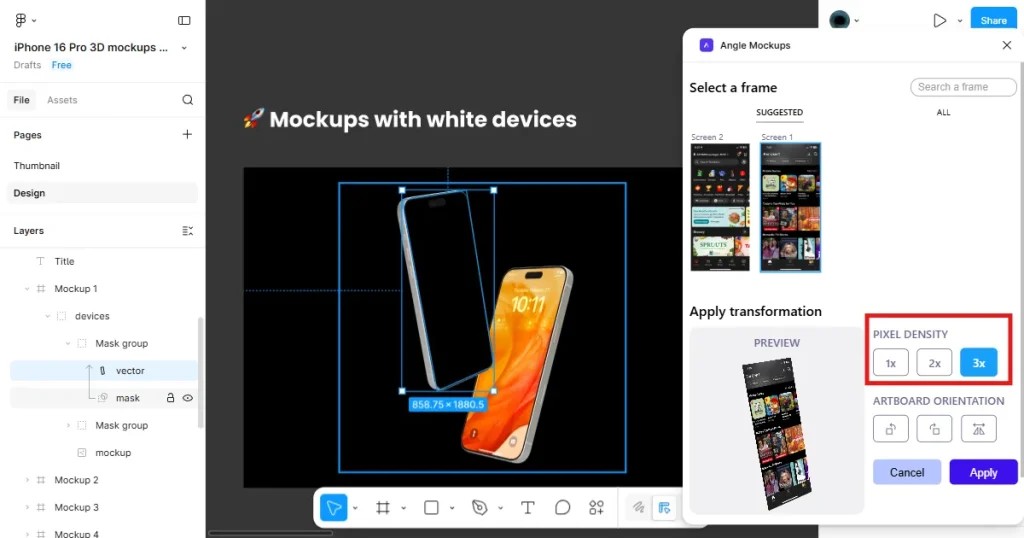
Select your mockup vector, then right-click and choose Plugins, and pick Angle Mockups.
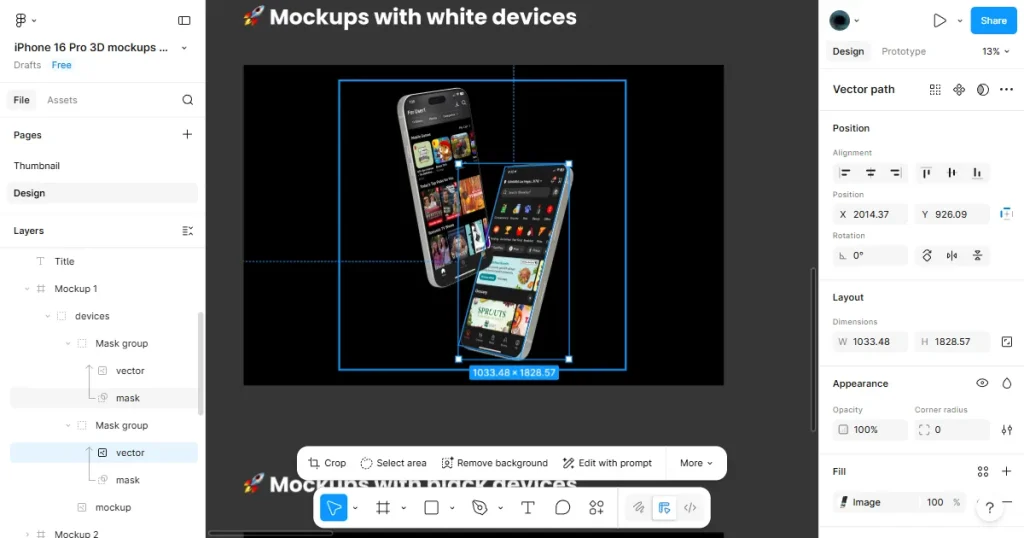
Set the pixel density to 3x and click Apply. The plugin will place your screen on the device. Zoom in and check the edges and position to spot any problems early.
Step 7: Export the final iPhone mockup
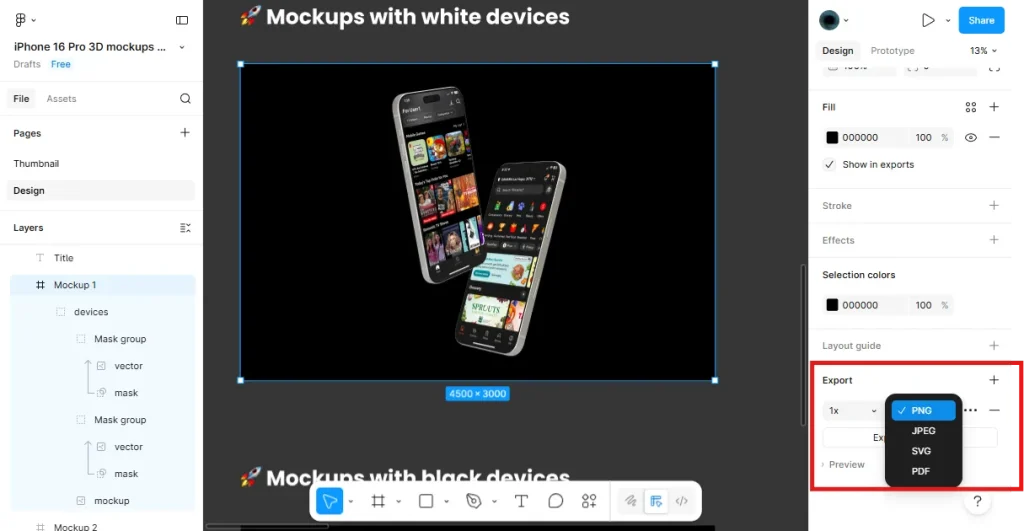
Select your finished mockup frame. Go to the Export section on the right. Choose PNG for the best quality or JPG for a smaller file size. Export at 2x or 3x resolution. If you have several screens, use batch export to save time.
If you want something other than flat frames, different mockup styles can help with different marketing goals. Here are some of the best options:
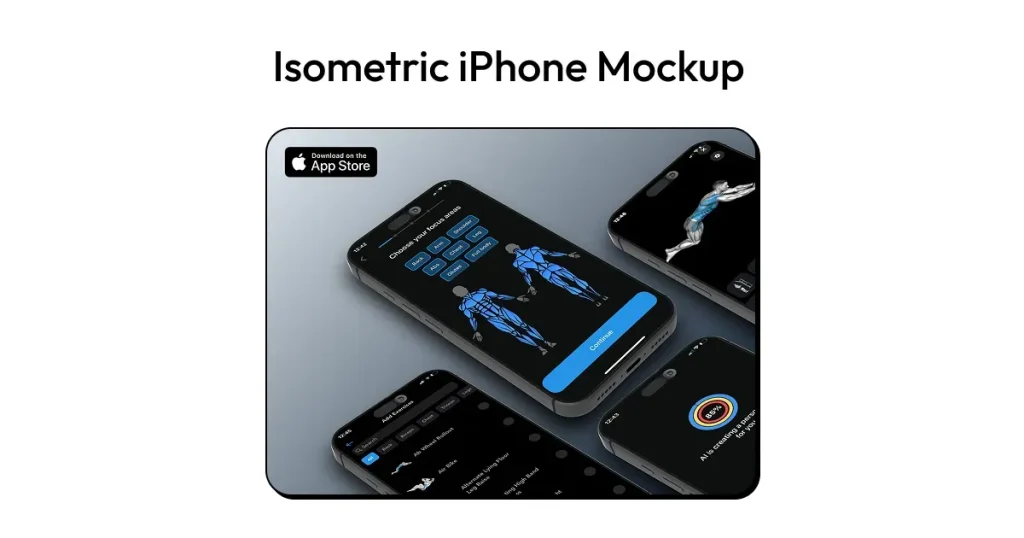
An isometric iPhone mockup shows the device from an angled, top-down view without perspective lines coming together. This gives a clean, structured look that adds depth and keeps the mockup design easy to follow.
Best for: Showing complex interfaces, SaaS dashboards, and user flows with several screens. Since they lack a realistic background, they work well for website feature grids and landing pages where you want to show how your app works.
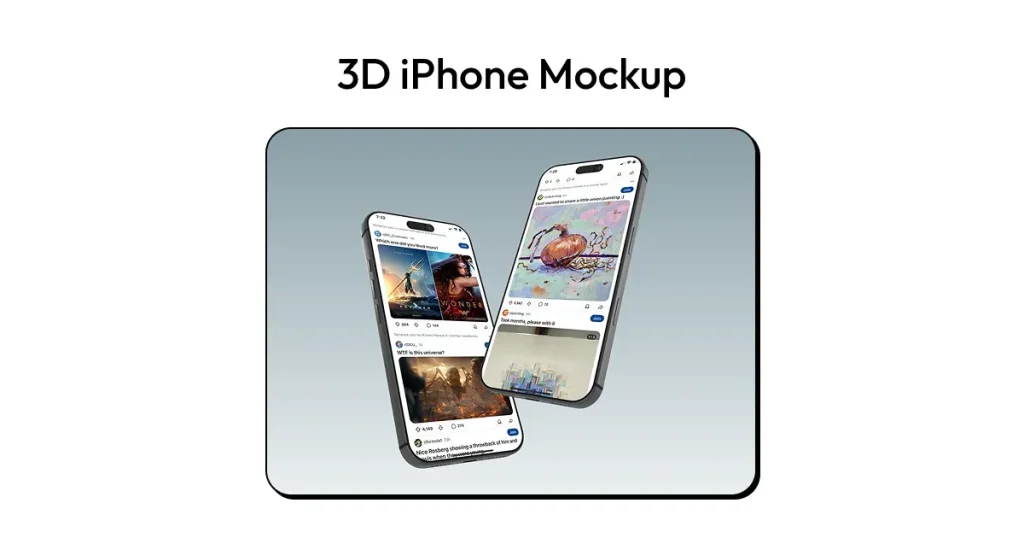
3D iPhone mockups are digital models with realistic lighting, shadows, and reflections. High-quality 3D mockups closely resemble real product photography.
Best for: High-impact visual campaigns. You should use 3D iPhone mockups for paid social media ads, premium branding materials, and hero sections on your website where grabbing immediate attention is your main priority.
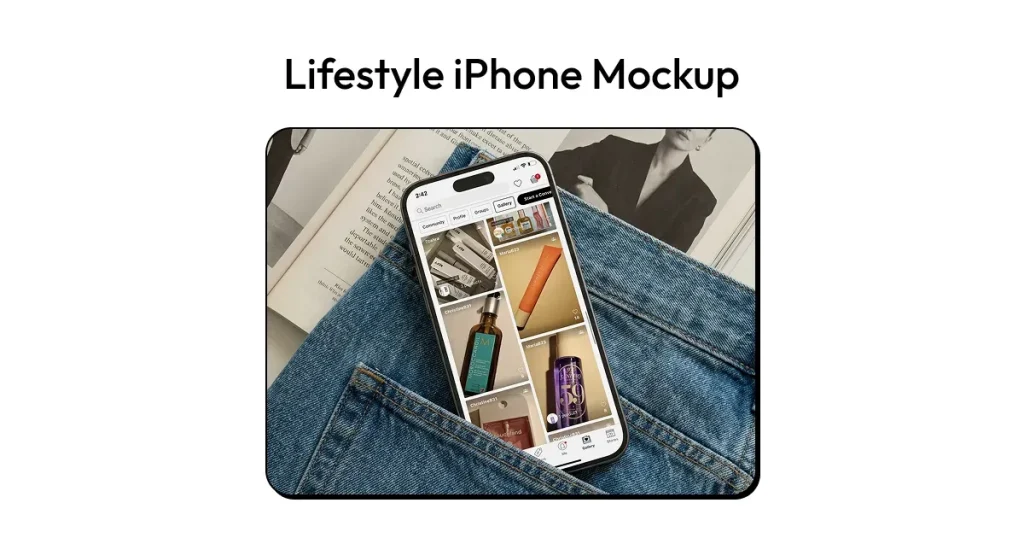
A lifestyle iPhone mockup shows the phone in a real-world photo or a realistic setting. Common scenarios include desks, cafés, or real-world environments.
Best for: Storytelling and context. A lifestyle iPhone mockup helps potential users visualize themselves actually using your app in their daily lives. These are ideal for social media content, blog headers, and investor pitch decks.
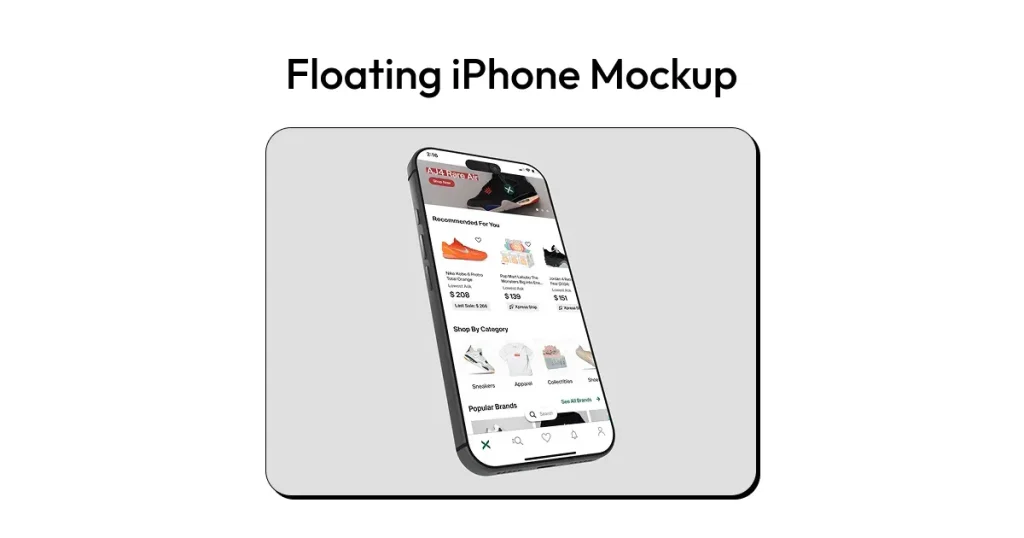
Floating mockups remove the background and show the device in an empty space. This keeps the focus on your app screen instead of the phone or any settings.
Best for: App Store and Google Play screenshots. This simple style keeps users focused on your app features and marketing text, without any background distractions.
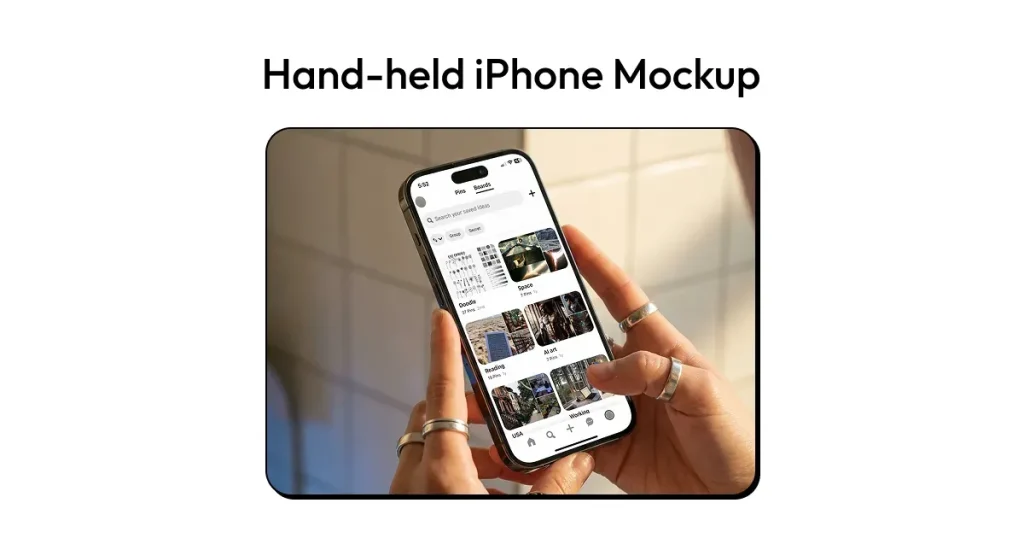
A hand-held iPhone mockup features a human hand physically holding or interacting with the device. It instantly adds a human element to the visual and helps people see how the app works.
Best for: Social media creatives and user-generated content (UGC) style ads. They are also highly effective for demonstrating specific gestures, such as swiping, pinching, or tapping, within your app interface.
If you are a founder or marketer, speed is just as important as aesthetics. If you don’t want to manually create iPhone mockup in Figma, automated tools like AppLaunchpad can simplify the workflow. AppLaunchpad automates mockup creation from start to finish.
You do not have to deal with templates, plugins, or manually lining up layers. AppLaunchpad is designed to create App Store and Play Store screenshots with layouts that help boost conversions. You can make lots of screenshots in minutes and skip the repetitive steps of other design tools.
| Feature | Figma | AppLaunchpad |
| Primary Use Case | Custom interface design and high-control mockups | High-speed, automated App Store screenshot generation |
| Learning Curve | Moderate to High (requires design knowledge) | Zero (no design experience needed) |
| Workflow | Manual (templates, plugins, alignment, batch exporting) | Automated (upload, auto-fit, download) |
| Bulk Generation | Slow and repetitive | Fast and scalable |
| Best For | UI/UX Designers, teams needing total creative control | Founders, ASO Marketers, Growth Teams |
Creating an iPhone mockup in Figma gives you full control over layout, spacing, and overall design. Using Figma Community templates and plugins, such as Angle Mockups, can make the process much faster.
Designers often struggle to create iPhone mockup in Figma efficiently when working with multiple screens. Copying, aligning, running plugins, and exporting each screen can take a lot of time. Keeping things like spacing, fonts, and alignment consistent means you have to carefully manage your components and design system.
Figma makes sense when:
Figma breaks down when:
AppLaunchpad automates manual design work. You do not have to make every mockup from scratch, but generate them instead. For ASO, marketing teams, and founders with many apps, this saves significant time and effort.
Mockups are more than just design files now. They can directly affect how many people install your app and how well it converts.
Use Figma if you want full customization. Use AppLaunchpad when you need to work fast or at scale. Using both tools together gives you the best workflow. Focus on clear visuals, keep testing your screenshots, and let your results guide your next design changes.
Yes, the Figma Community is packed with free Figma iPhone mockup templates. Just make sure to choose with clean layer structures and updated device frames
To create iPhone mockup in Figma, find a Figma iPhone mockup template from the Figma community, drop your screenshots into the designated image layers, apply the Angle Mockups plugin to fix the perspective, and export the final frame.
3D iPhone mockups perform best on landing pages, digital ads, pitch presentations, and product showcases because they naturally pull more visual engagement than flat screens.
The biggest drawbacks are manual workflow bottlenecks, potential performance issues with large, high-res images, and a complete lack of automation for scaling ASO assets.
It fully automates the screenshot creation process. It removes the repetitive, manual steps of formatting and aligning, allowing you to publish App Store-ready screenshots in a fraction of the time.