

20 Best AI App Marketing Tools In 2026
Boost app growth with the 20 best AI marketing tools of 2026. Master ASO, automate retention, and scale faster with expert picks for indie devs and growth teams
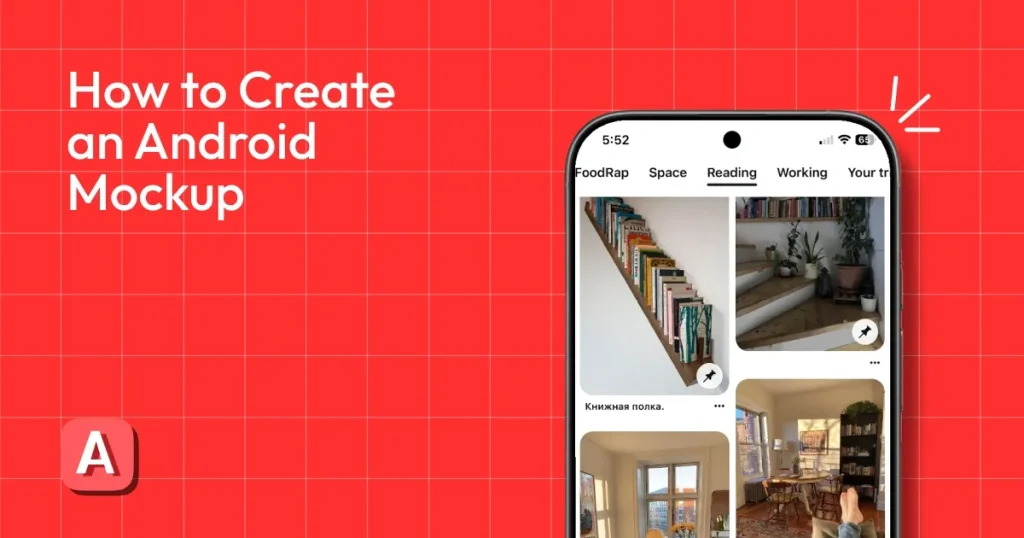
An Android mockup is a visual template that places an app screenshot or user interface design inside a realistic Android phone frame
To create an Android mockup, you need to sign up for an online Android mockup generator like AppLaunchpad, select a mockup template, upload your app UI screens, and export.
There are various ways to create an Android mockup, but using an online mockup generator is the fastest and easiest way. That’s why let’s learn how to create an Android mockup using Photoshop and AppLaunchpad so you can decide which method works best for you.
An Android mockup is a visual template that places an Android app screen, user interface design, or website screenshot inside a realistic graphic of an Android smartphone.
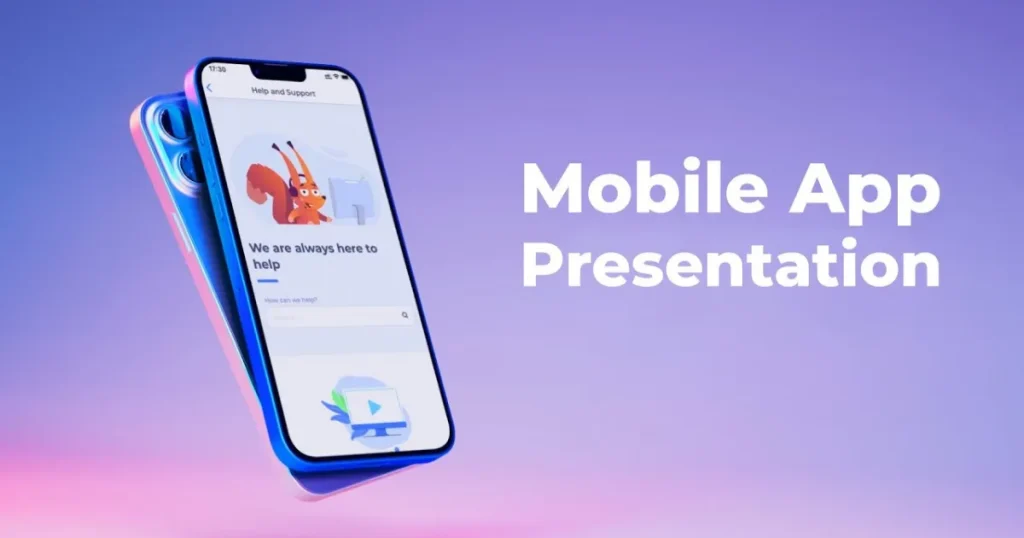
Most app developers and designers create an Android mockup to show how their app UI would look on real Android devices without launching their apps on the Play Store. This makes it easier to pitch app ideas to clients and stakeholders by giving them a realistic preview of the final product.
Moreover, designers can create an Android mockup to display light-mode and dark-mode variations side by side. This lets them spot visual inconsistencies, layout issues, or readability problems and fix them before the app is launched.
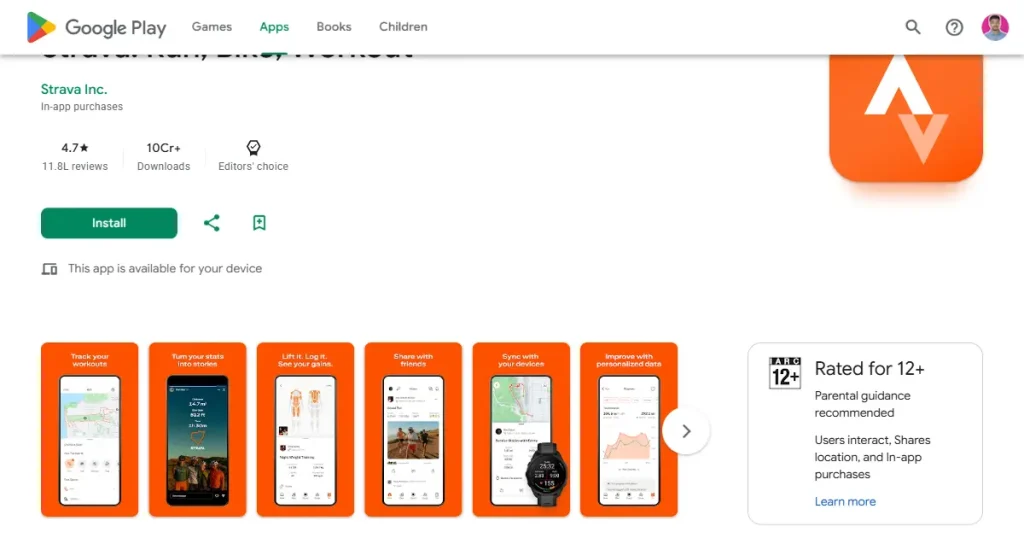
Android mockups can also help developers and designers create app store screenshots after launching their app. When submitting an app to the Play Store, you must add real app UI images to show what your app looks like.
But adding only raw images of the app user interface doesn’t look professional, that’s why app developers create an Android mockup by placing their raw app UI screenshots and later use them as their App Store Screenshots.
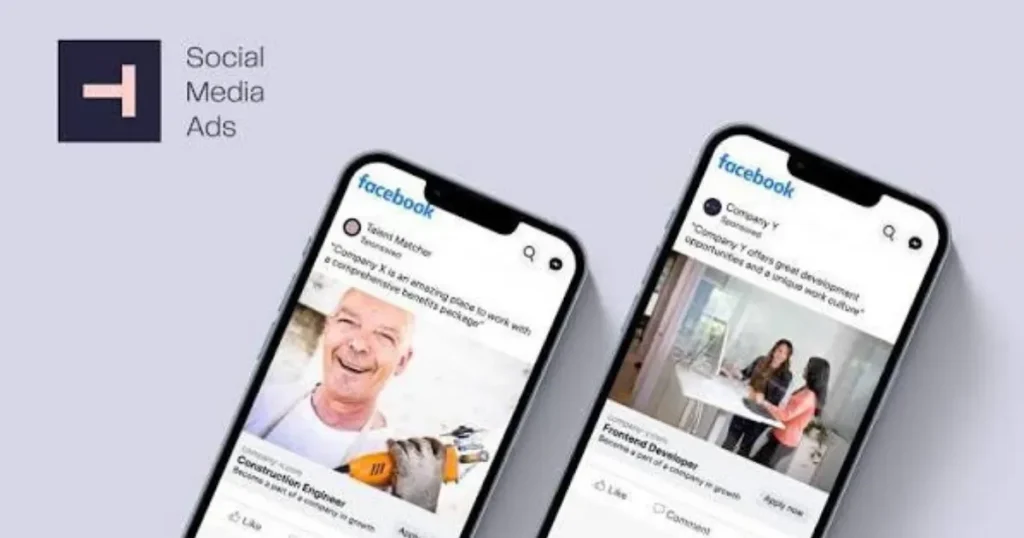
Another reason to create an Android mockup is to use it in social media ads. Android mockups help users visualize what your product will look like on their devices.
This improves trust and credibility, making viewers more likely to purchase the product. Moreover, with the help of Android mockups, you can even create animated product visuals using different AI tools, increasing the likelihood of attracting your ideal customer.
Users can create an Android mockup and use it as a product image to enhance Gumroad, Lemon Squeezy, or Shopify landing pages by showcasing professional product images of mobile UI kits, themes, or wallpapers inside real devices.
This helps customers visualize how the product will look in actual use and can increase its perceived value.
| Method | Ease of Use | Design Skills Required | Time Required | Cost | Best For |
| Photoshop | Difficult | Advanced | High | Medium | Designers who need detailed control and high-quality results |
| Figma | Moderate | Intermediate | High | Low–Medium | UI/UX designers already familiar with Figma |
| Online Mockup Generators | Easy | Minimal or none | Low | Low | Beginners, developers, and anyone creating mockups quickly |
| Real Product Photography | Difficult | Professional | Very High | High | Brands needing highly realistic, professional visuals |
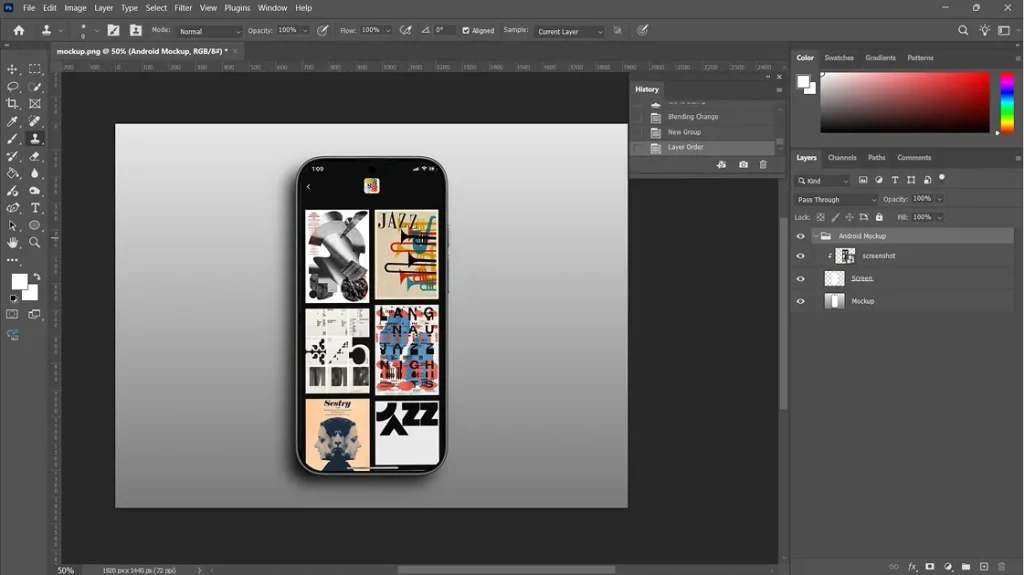
Photoshop is the most popular tool designers and developers use to create an Android mockup. Although this method is effective and produces high-quality images, the downside is that you need advanced design skills to use Photoshop to create an Android mockup.
Photoshop has also launched Adobe Firefly, which makes it a bit easier to create an Android mockup, but the process is still manual and does take a lot of time.
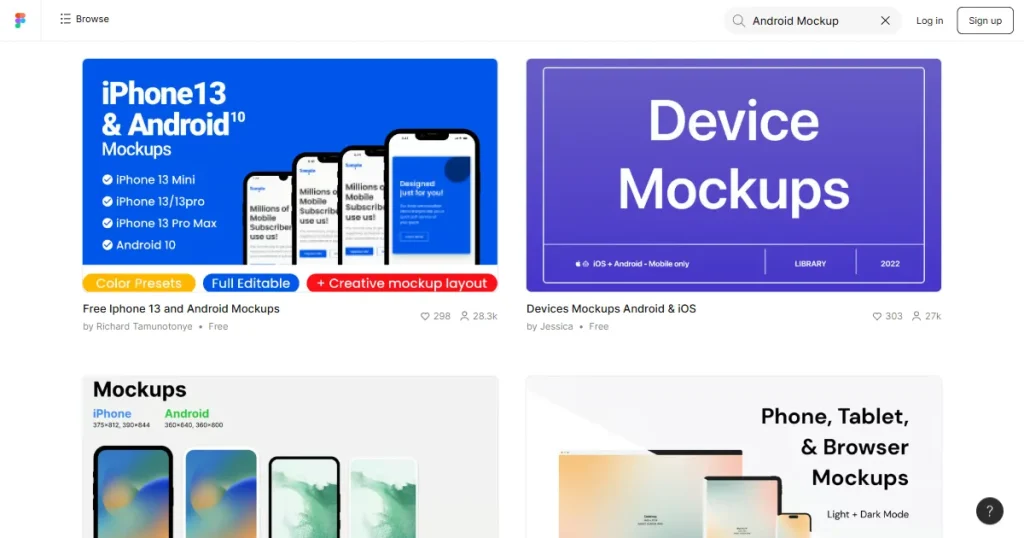
Figma is another great tool that allows users to create an Android mockup. It has a massive community with great mockup templates and plugins that help users create an Android mockup.
Although the process to create an Android mockup is still manual in Figma, it is preferred by UI/UX designers as they are comfortable with the tool, but it is not the best method if you are a beginner or looking for an easier way to create an Android mockup.
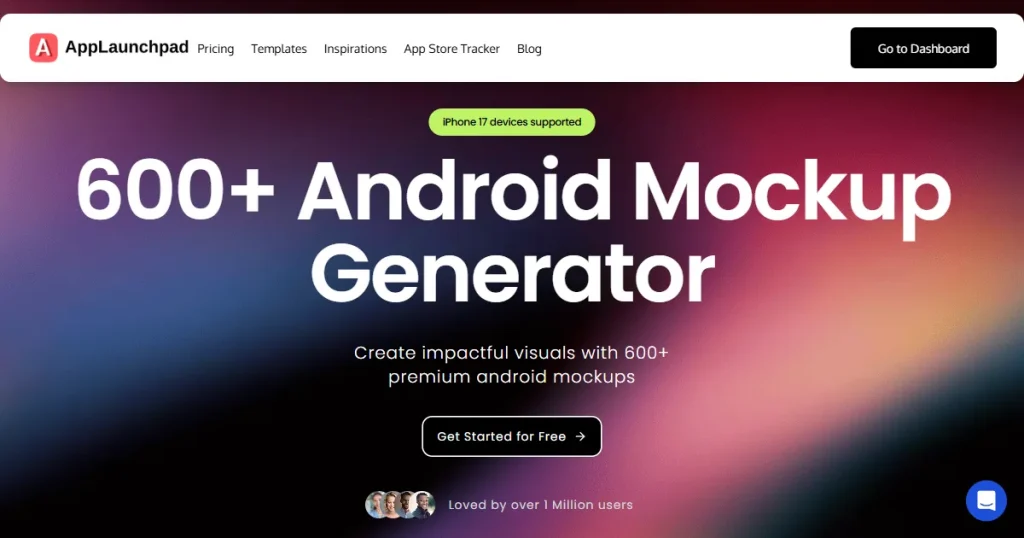
Online Android mockup generator tools like AppLaunchpad are a great way to create an Android mockup because they offer curated templates that remove the need for manual editing and make it easy to create a mockup without design skills.
This means you can save time and create multiple Android mockups in the same time it would take to create one.
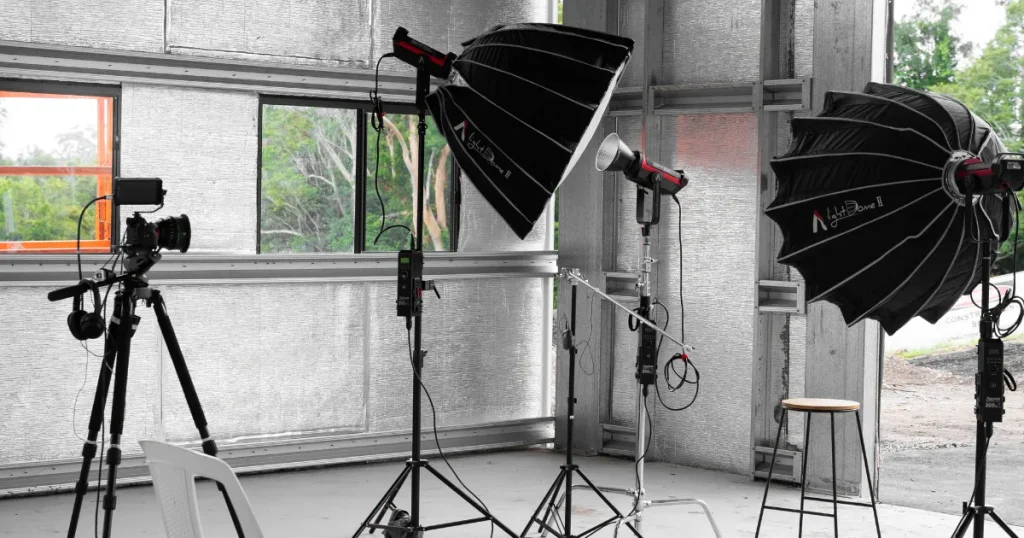
Another popular method to create an Android mockup is to organize a professional photoshoot and rely on real product photography. Although the results are highly professional and realistic, the process is time-consuming and expensive.
After reviewing each method for creating an Android mockup, we believe online Android mockup generators are the best option. Here are a few Android mockup generators that make it easy to create an Android mockup.
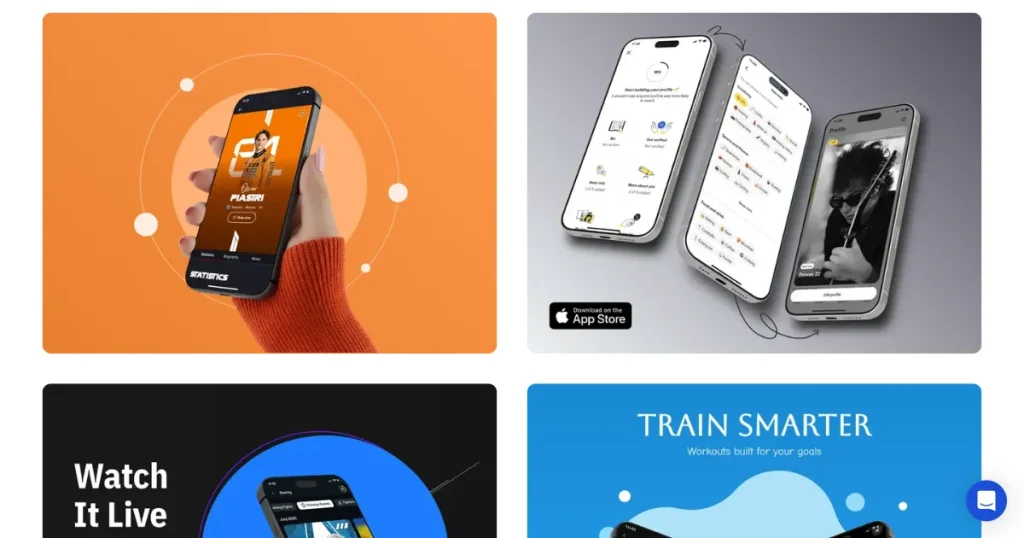
AppLaunchpad is an app store screenshot generator that lets app developers and designers create professional-looking app store screenshots to present their app in a store-ready way. The best part is that AppLaunchpad is a completely online tool and doesn’t require any complicated design skills.
Beyond app store screenshot creation, AppLaunchpad also offers a free Android mockup tool with 600+ premium-looking Android mockup templates that anyone can use to create an Android mockup by uploading their app’s raw UI screenshots.
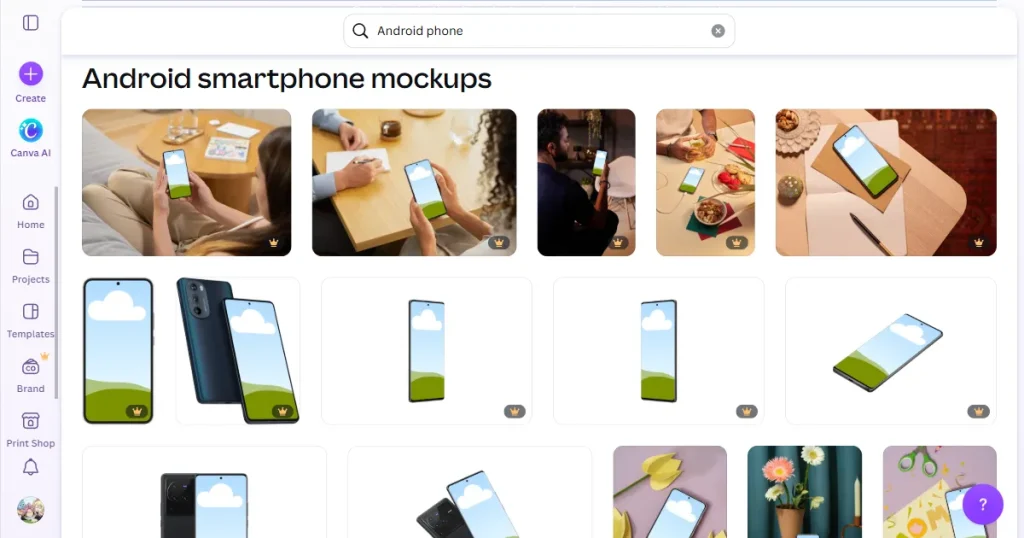
Smartmockups via Canva also enable users to create an Android mockup by placing their app designs or images into realistic Android device frames. However, most Android mockup templates in the tool look generic and could hurt your brand reputation.
Even if you upgrade to Canva Premium, the quality of the Android mockup templates remains very poor. However, you can definitely import those mockups to Canva’s editing tool to make them more presentable, but that would also take up a lot of time and require design skills.
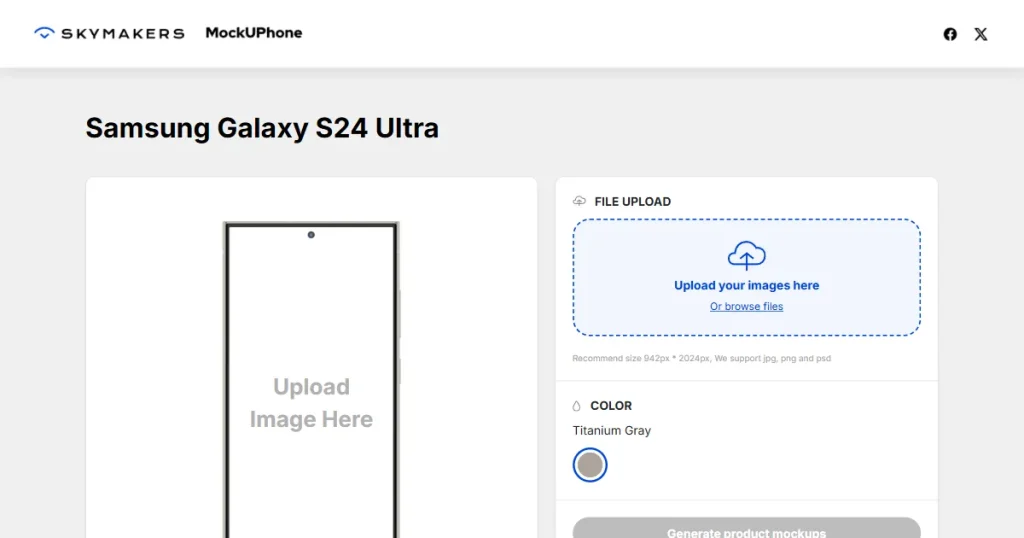
MockUPhone is a free Android mockup tool. It is completely free to use and requires no sign-up. Here, you can choose the type of device you want before you start creating mockups.
You can choose from Samsung, Google, Motorola, and OnePlus smartphones, upload your app UI screenshots, and download the final mockup in the highest quality possible.
However, MockUPhone only provides a limited selection of Android mockup templates and customization options compared with other free Android mockup tools.
Step 1: Open the Android mockup PSD
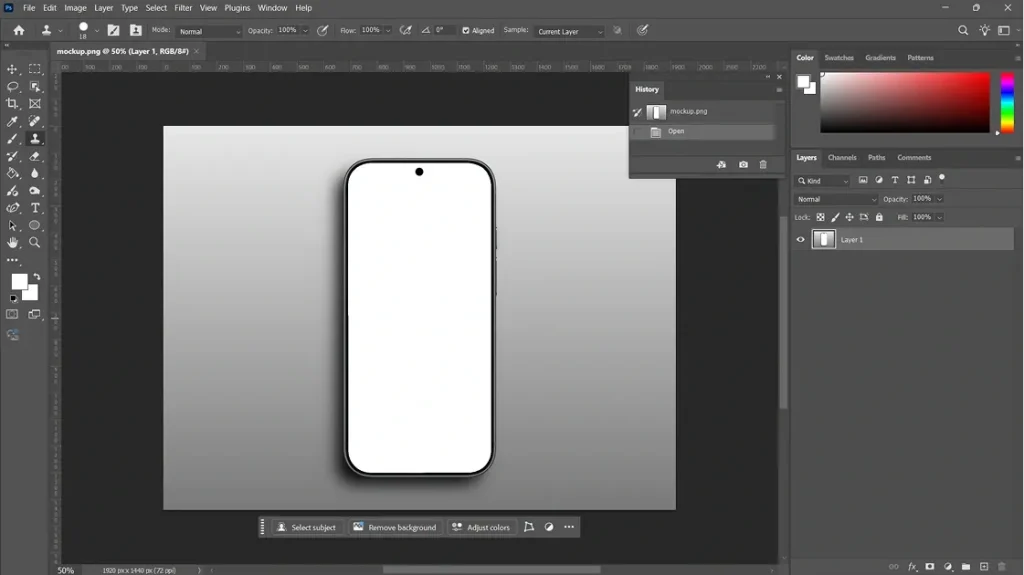
Open Photoshop and load a high-resolution Android mockup PSD with organized layers and an editable screen area.
Step 2: Select the screen area
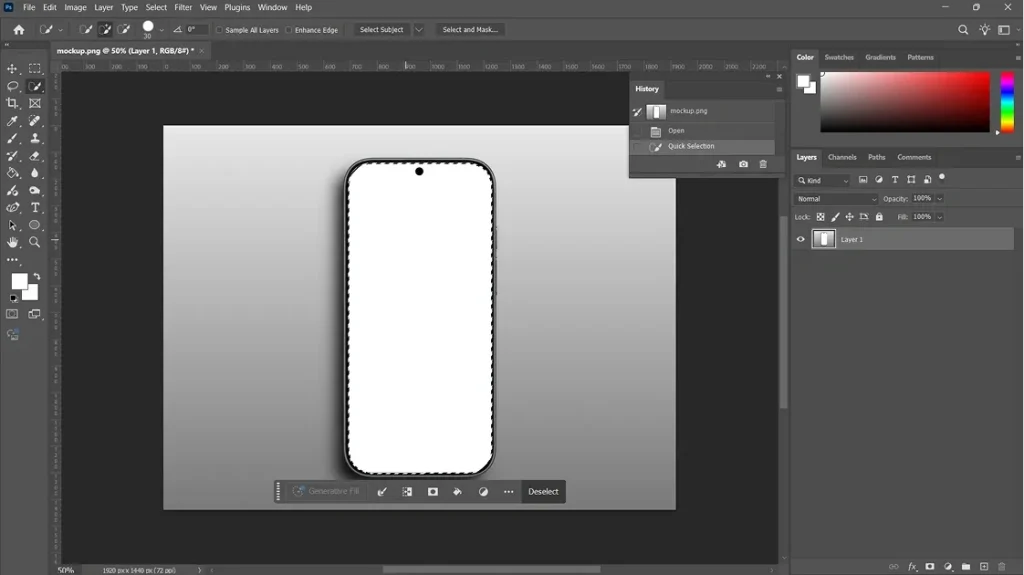
Use the Object Selection, Quick Selection, or Pen Tool to accurately select the Android screen.
Step 3: Create a screen layer
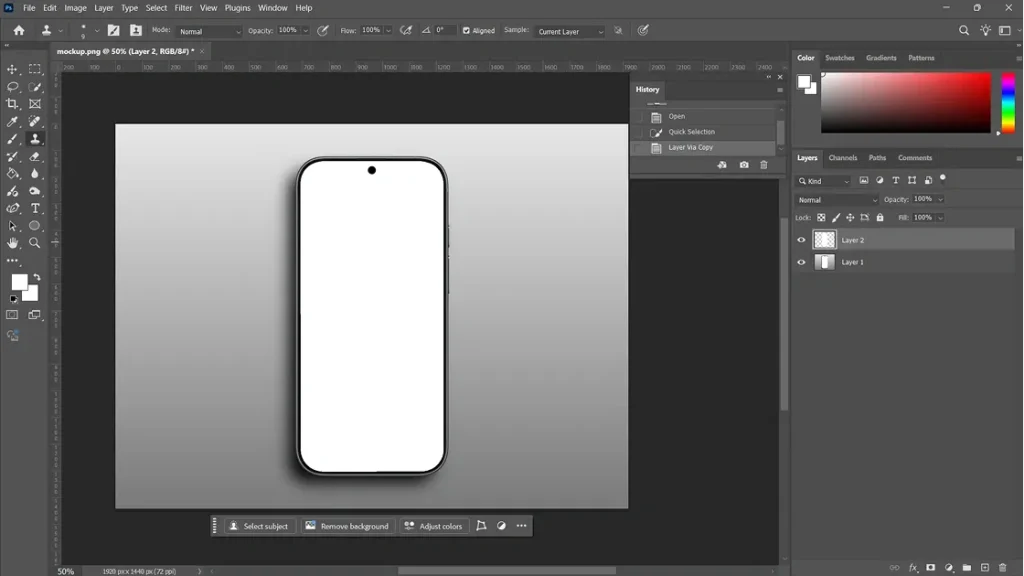
Press Ctrl + J to duplicate the selected area and name the new layer Screen Base.
Step 4: Import your app screenshot
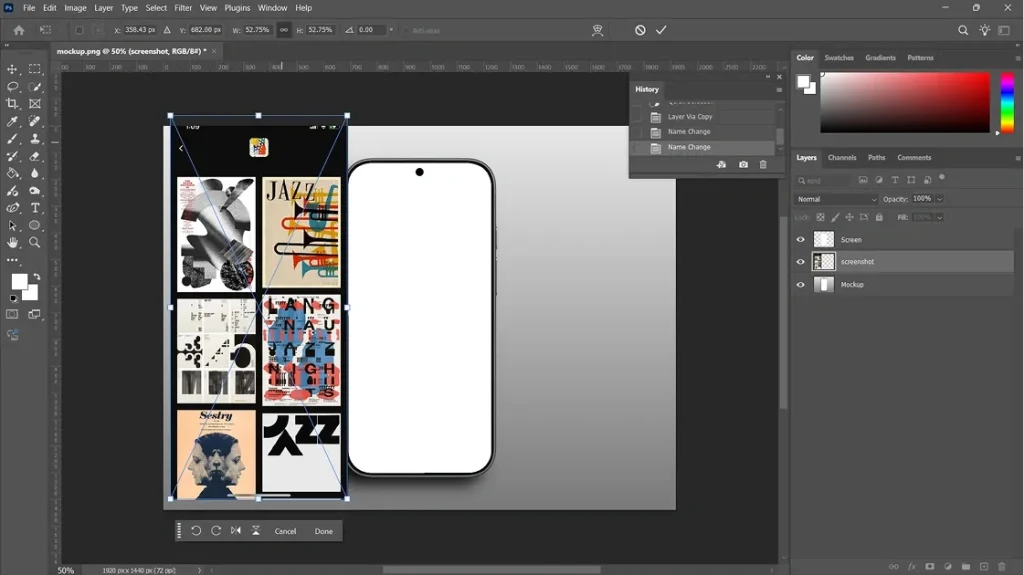
Open your Android app screenshot, copy it, and paste it into the mockup file as a new layer.
Step 5: Lower the screenshot opacity
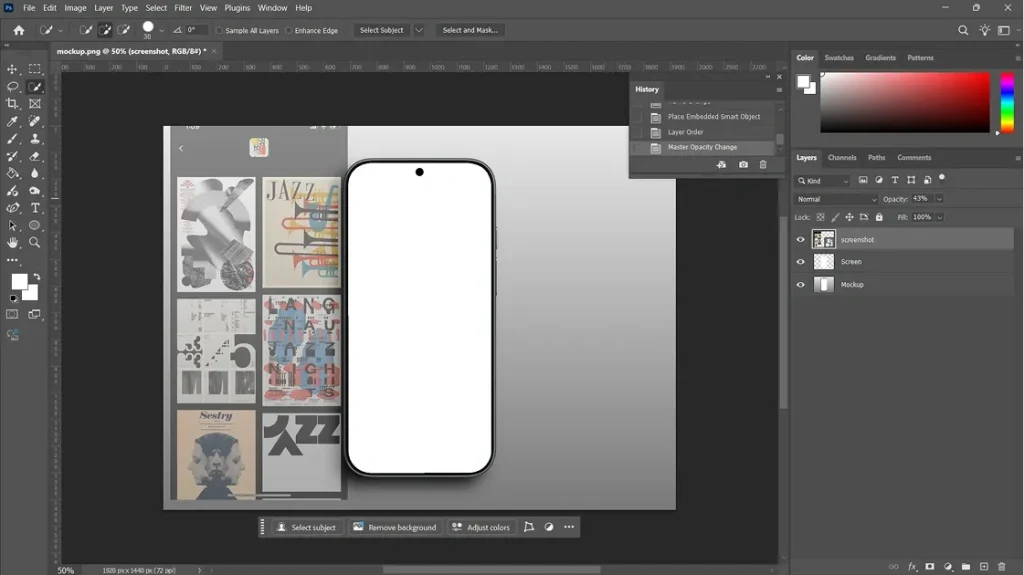
Reduce the screenshot opacity to around 40–60% to make alignment easier.
Step 6: Fit the screenshot to the screen
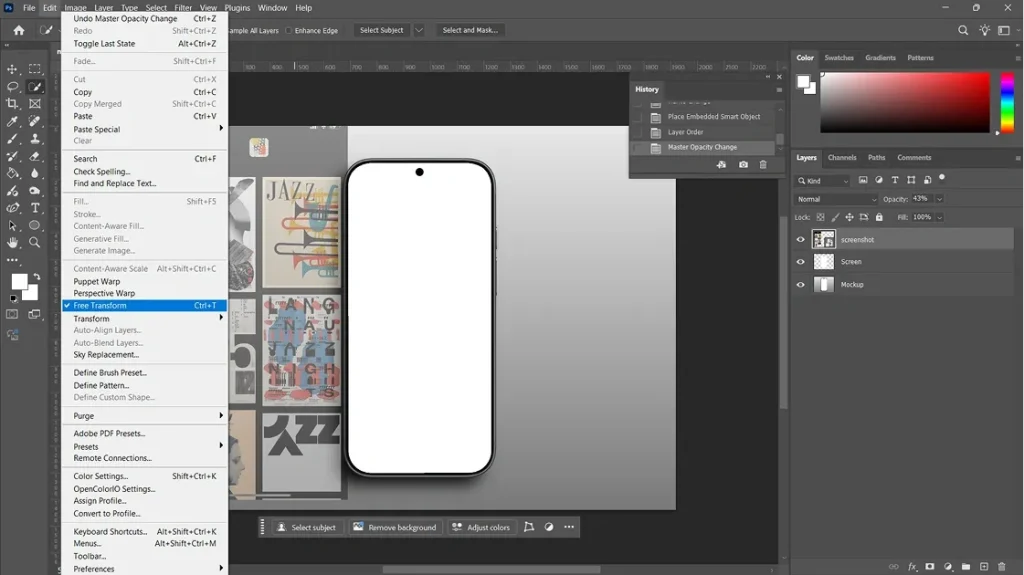
Press Ctrl + T and use Skew or Distort to match the screenshot to the Android device’s perspective.
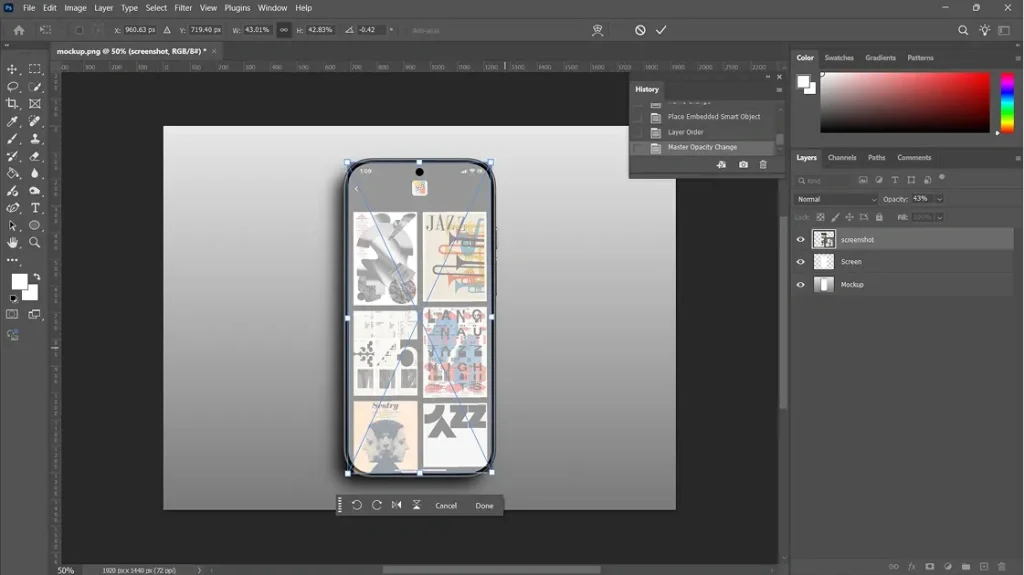
Step 7: Clip the screenshot
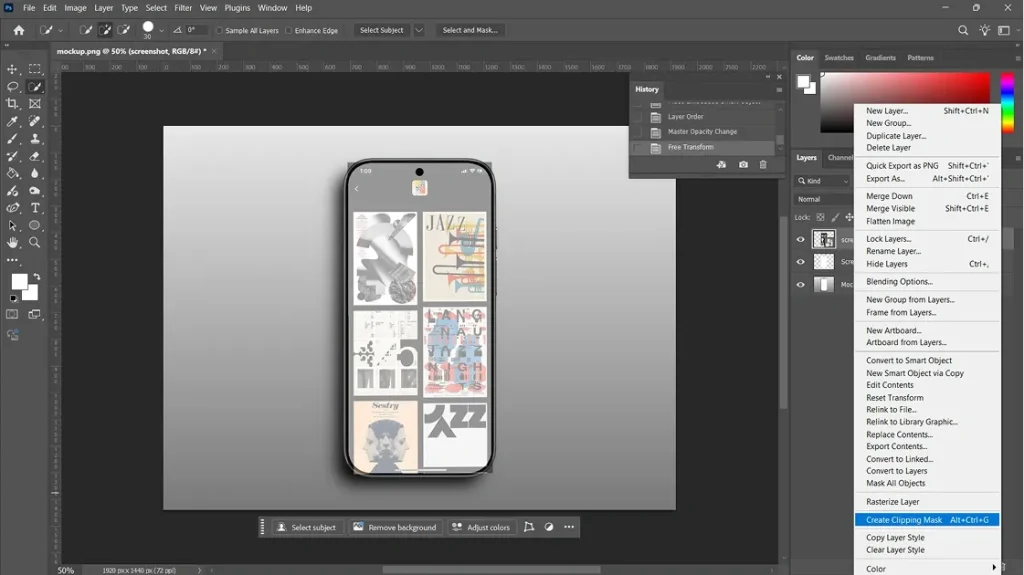
Place the screenshot above the Screen Base layer and select Create Clipping Mask to keep it inside the screen.
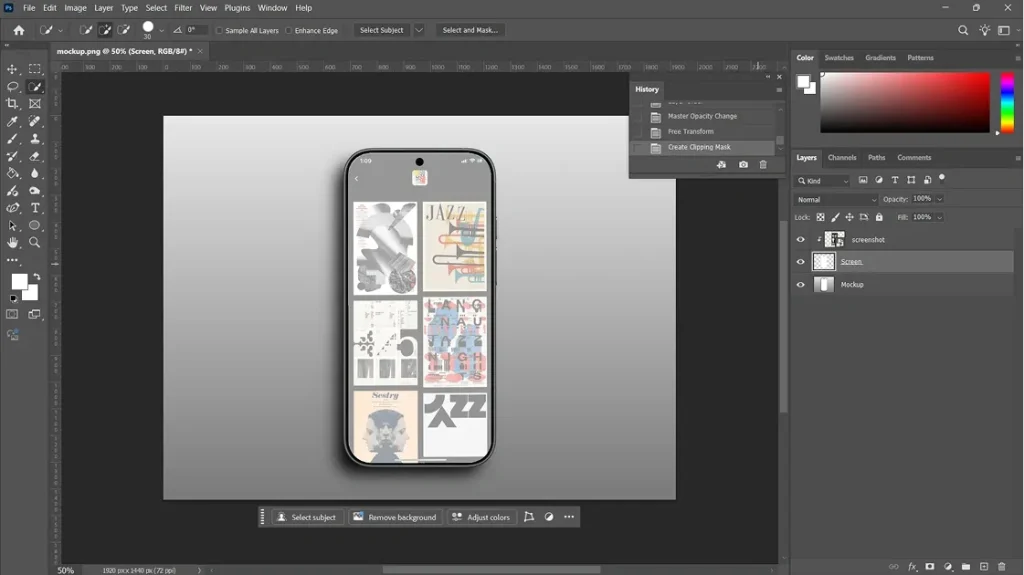
Step 8: Restore opacity and check alignment
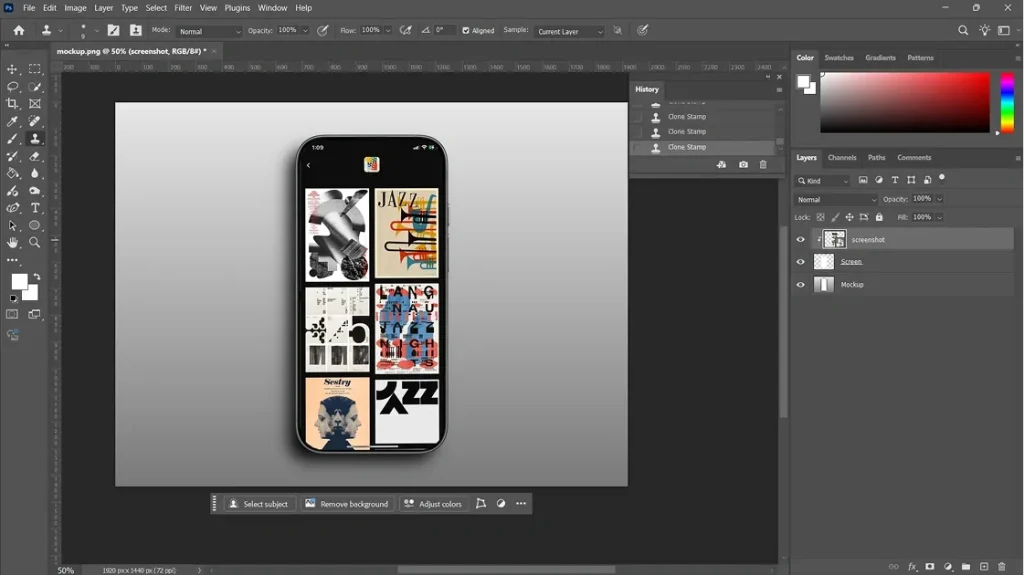
Set the screenshot opacity to 100% and check that the edges align properly with the device screen.
Step 9: Add realistic blending
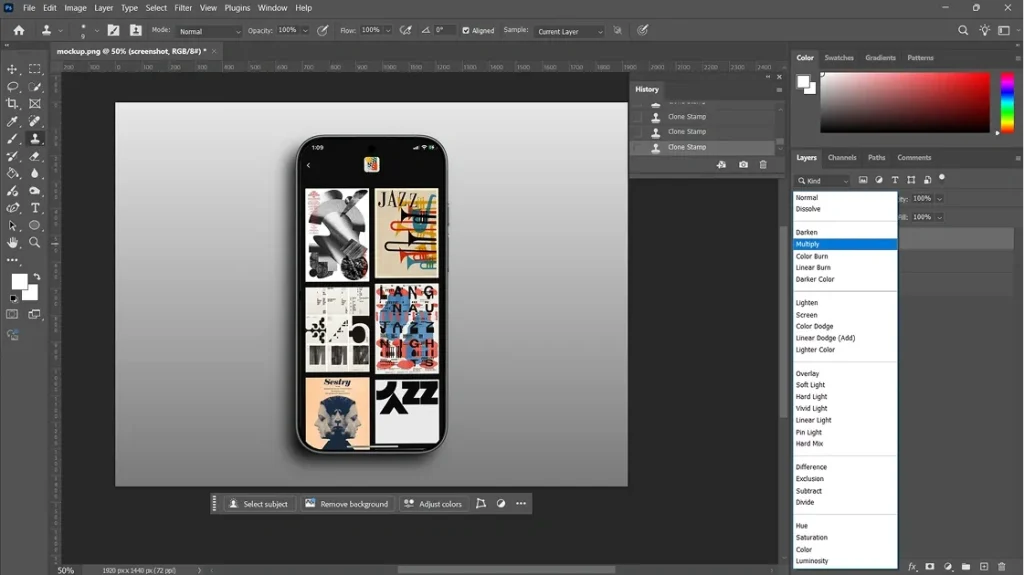
Use blending modes such as Multiply, Overlay, or Soft Light to match the device’s lighting and reflections.
Step 10: Add finishing touches
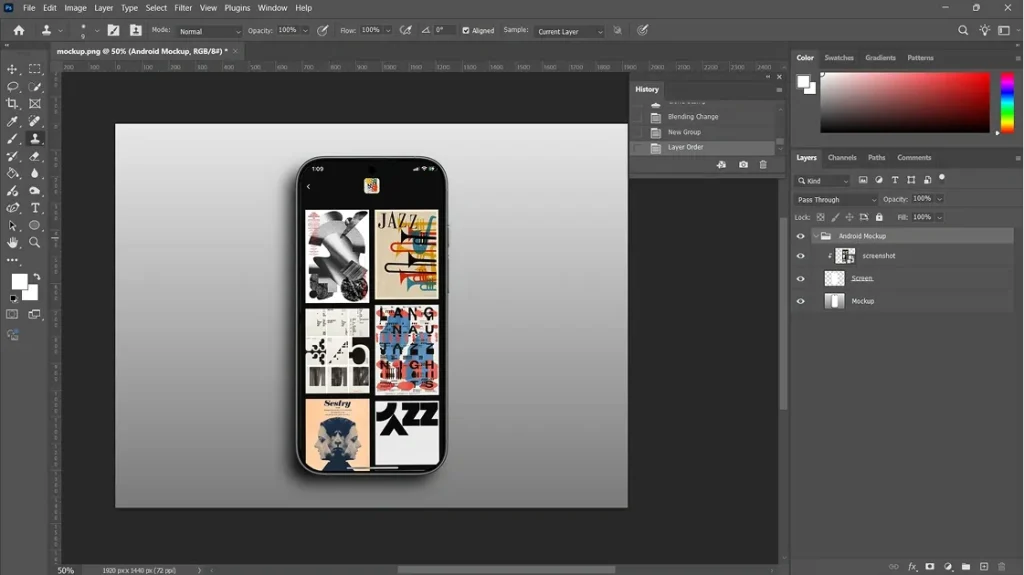
Refine shadows, lighting, and the background, then group your layers to make the Android mockup easy to reuse.
Now, let’s look at how easy it is to create an Android mockup using AppLaunchpad compared to Photoshop.
Step 1: Sign up for AppLaunchpad
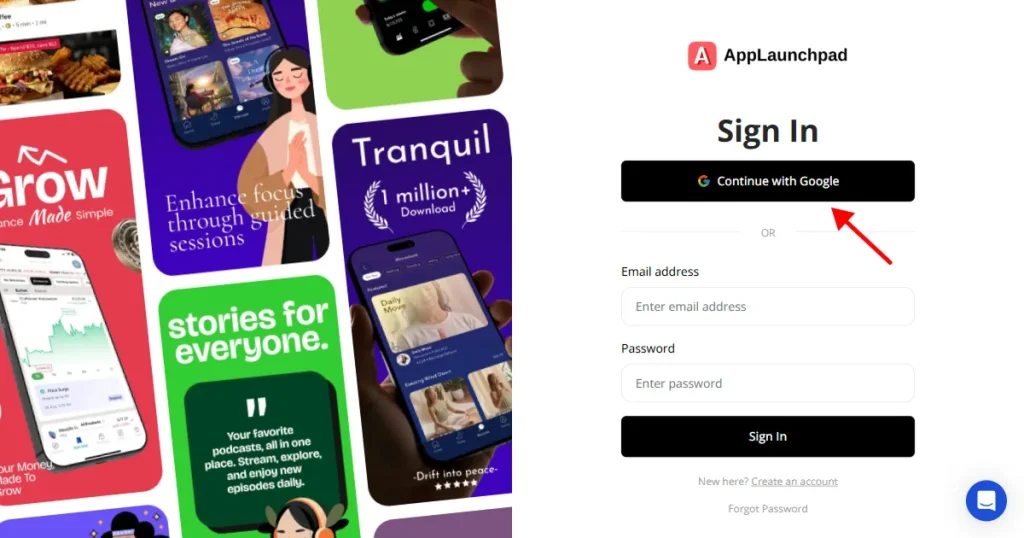
The first step to create an Android mockup using AppLaunchpad is to sign up with your email address or Google sign-in. The Google sign-in method is faster and easier.
Step 2: Select a Template
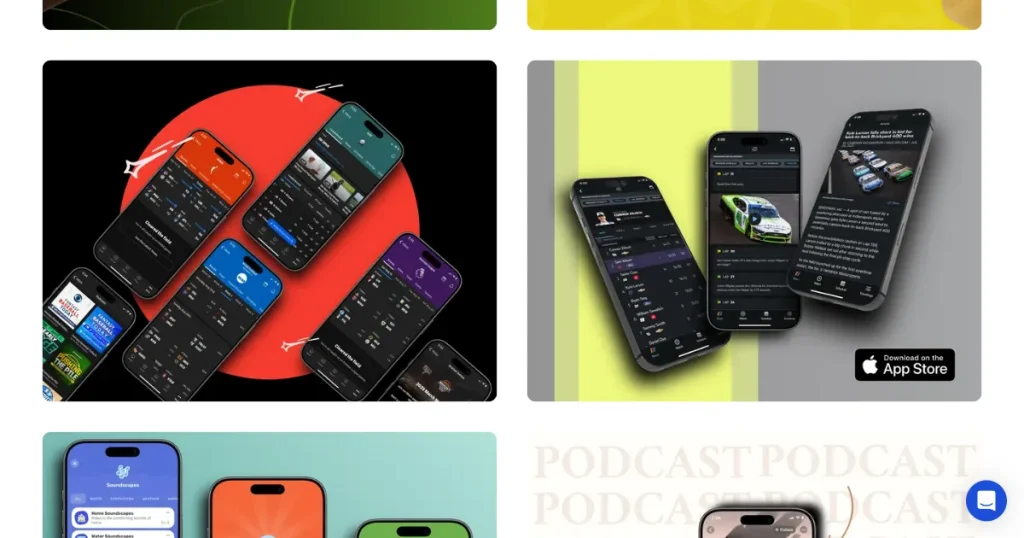
Once you enter the tool, you’ll see the App Store screenshot templates selected by default. Click on Mockups on the right-hand side, and you’ll find the Android mockup templates. You can click on any of them to start editing.
Step 3: Select a Device from the Elements Tab
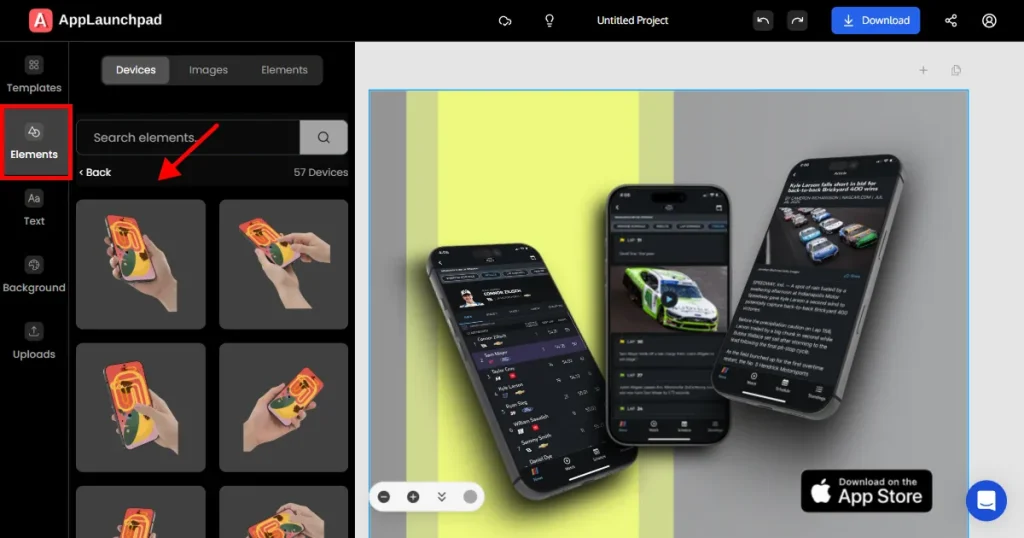
If the default device in the mockup template doesn’t match your needs, you can click on the Elements tab on the right-hand side and select a suitable device template.
Step 4: Upload Your App UI Screenshots
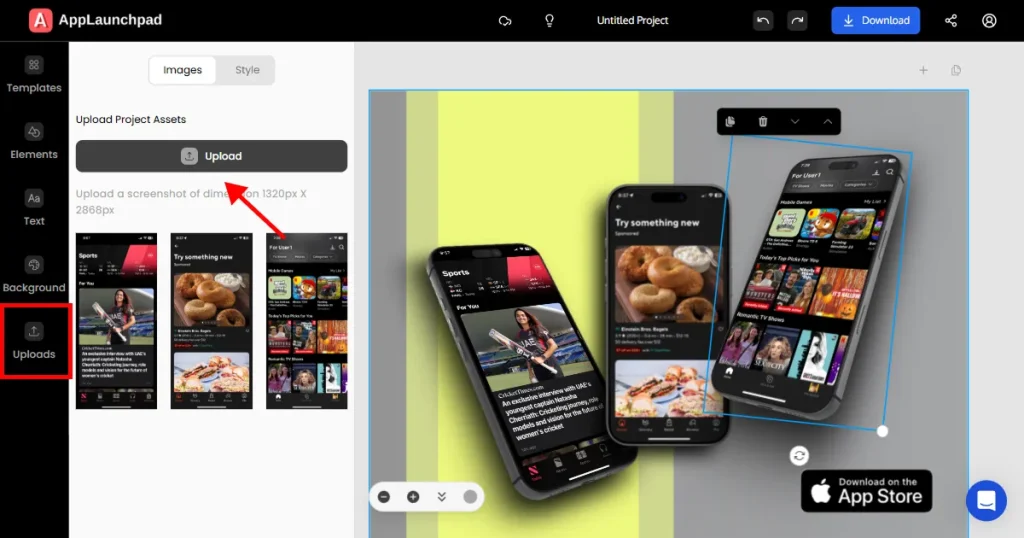
Now, upload your app UI screenshots and double-click on them while selecting the device in which you want to place those screenshots. AppLaunchpad’s AI will automatically place the screenshot on the device.
Step 5: Export
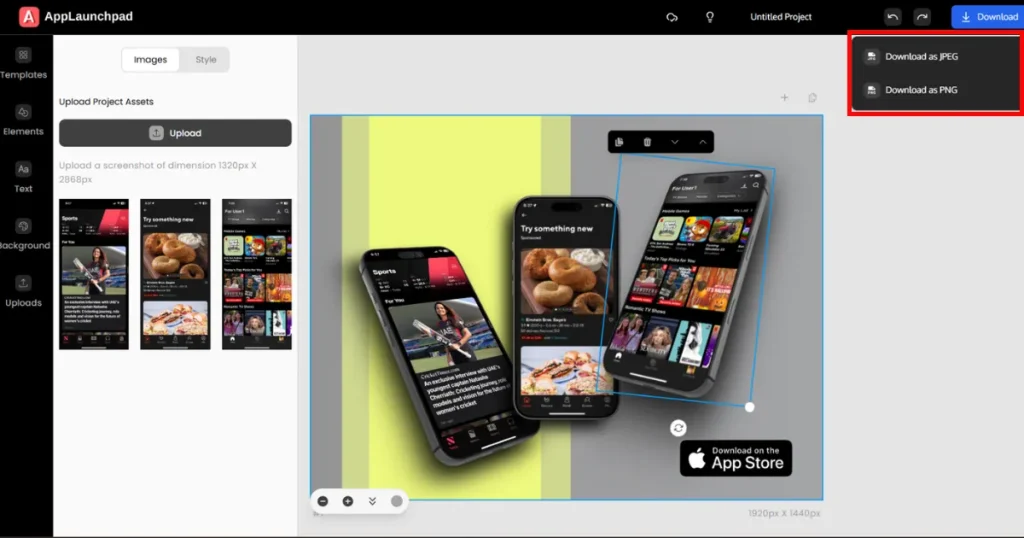
Once you are satisfied with the Android mockup. You can click on Download and choose JPG or PNG format to download the mockup to your device.
The best method to create an Android mockup depends on your design skills, time, and the level of customization you need. Photoshop and Figma offer more control but require manual work, while real product photography is expensive and time-consuming.
For most users, an online Android mockup generator is the easiest and fastest option. And tools like AppLaunchpad let you create professional Android mockups by simply uploading your app screenshots, making them a practical choice for app presentations, marketing, and app store screenshots.
AppLaunchpad is one of the best apps to create an Android mockup because it offers 600+ templates and a simple upload-and-export workflow.
You can create an Android mockup for social media ads by uploading your app UI to an online mockup generator and choosing a device template sized for your target platform.
Yes, Mockuphone is a free Android mockup generator that lets you create Android mockups without signing up.
You can find free Android mockup templates on AppLaunchpad. Here, you can download the Android mockup templates in the highest possible quality without any watermarks, even on the free plan.


