
App Store Connect Guidelines for App Developers and…
App Store Connect is the platform that lets you upload…
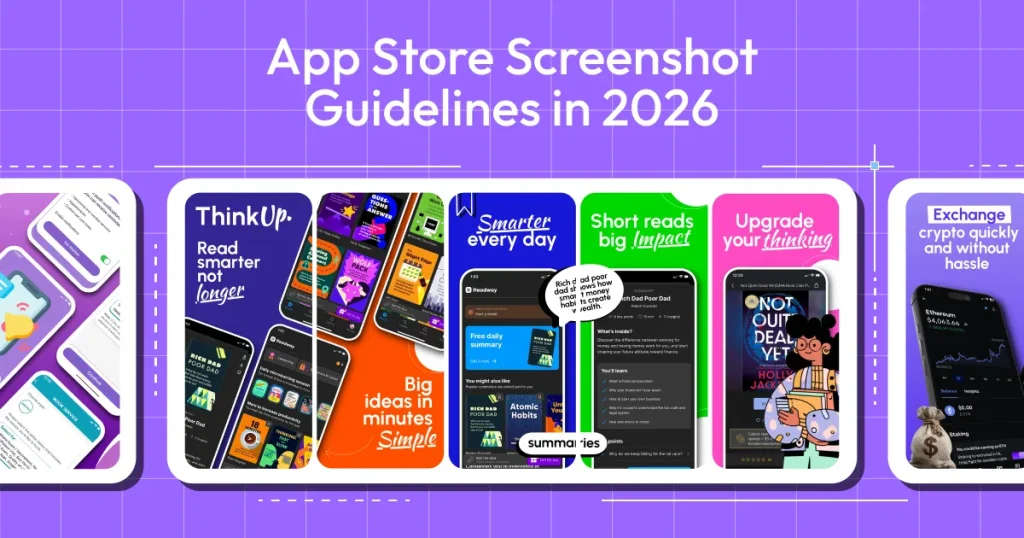
Your app screenshots are the first thing a user sees when they land on your app, so following app store screenshots guidelines is not only important to get your app approved but also to increase your app downloads.
To help you understand app store screenshot best practices, we created this guide, where we will cover screenshot dimensions, device requirements, quality standards to follow, and some of the best tools that simplify this process for you.
So, by the end of this guide, you will have everything you need to create high-converting app store screenshots for your next app launch.

Apple places serious weight on App Store screenshots, ranking them alongside your app icon, title, and description. That’s precisely why Apple enforces strict App Store screenshot guidelines.
Every screenshot must be clear, accurate, and aligned with what the app actually delivers. Ignore these App Store screenshot guidelines, and you risk repeated rejections, long review delays, and weeks spent stuck in the approval queue.
Note: Since late 2024, Apple has streamlined the review process: you only need to upload one 6.9″ iPhone set and one 13″ iPad set for App Store screenshots, and Apple will automatically scale them for older models.
Apple has strict guidelines for a reason. iOS app store screenshot guidelines focus heavily on accuracy and real UI representation. If your screenshots look exaggerated, salesy, or don’t match the actual app, they’re likely to get flagged during review.
The Apple App Store screenshot guidelines are designed to ensure users see a clear, honest preview of what they’re about to download, which means no hype, no fake claims, and no distortion in the App Store screenshots.
These are core app store screenshots best practices that improve approval chances.
Pro Tip: Prioritize showing your app’s core value by problem → solution → outcome rather than an essay-long, exaggerated, and overly complicated message. This structure is one of the most effective best practices for app store screenshots.
Apple’s App Store screenshot guidelines followed strict, device-specific dimensions, but by 2026, things had become simpler. You no longer need to worry about supporting outdated device models.
Upload your App Store screenshots in the recommended base sizes: 1320 x 2868 pixels for the 6.9-inch iPhone and 2064 x 2752 pixels for the 13-inch iPad. Apple will automatically scale them for smaller iPhone and iPad models.
Following this app store screenshots best practices ensures your visuals look consistent across devices.
Pro tip: Always review your App Store screenshots at 100% zoom before uploading to App Store Connect to catch any scaling issues.
Apple doesn’t overcomplicate the technical side, but you must get the basics right. The App Store screenshot guidelines clearly explain how screenshots should be prepared, and skipping these details is one of the most common mistakes developers make. Even well-designed App Store screenshots can be rejected if the format, resolution, or layout is off.
Key takeaway: Prioritize high-fidelity PNGs over compressed JPEG files. Clear, unclipped UI text significantly improves both your approval rate and user trust.
Apple App Store screenshot guidelines treat screenshots as language-specific metadata, just like titles and descriptions. This means App Store screenshots must be localized per storefront; never reuse English screenshots for non-English markets. Each localization can have up to 10 App Store screenshots, giving you space to adapt not just the text but also the cultural context of your app.
Follow the App Store screenshots localization guidelines to localize your screenshots the right way.
Key Takeaway: Prioritize localization for the first 2–3 screenshots, as these drive the majority of global conversion lifts.
| Device / Display | Resolution (px) | Orientation | What this means |
| 6.9-inch iPhone | 1290 × 2796 | Portrait | Recommended base size. Uploading this is enough for most modern iPhones. Apple automatically scales it for other models. |
| 6.9-inch iPhone | 2796 × 1290 | Landscape | Optional. Use only if your app is landscape-focused, such as a game or streaming app. |
| 6.5-inch iPhone | 1284 × 2778 | Portrait | Backup option if you don’t upload the 6.9″ size. |
| 6.5-inch iPhone | 2778 × 1284 | Landscape | Optional landscape alternative(use only if your app supports it) |
| Smaller iPhones (auto-scaled) | Examples: 1179 × 2556, 1125 × 2436 | Portrait | You don’t need to upload these. Apple automatically scales screenshots from your main base size to fit smaller devices. |
| Older / legacy devices | 1242 × 2208 (5.5″) | Portrait | Still accepted, but not required. If you skip this size, Apple will auto-scale from newer screenshots instead. |
| Requirement Category | Apple’s Requirement | Key Notes for Approval |
| Number of Screenshots | Up to 10 screenshots per device type per localization | You’re not required to use all 10. Apple reviewers don’t penalize fewer screenshots. |
| Minimum Screenshots | At least 1 screenshot per supported device family | If your app supports iPhone and iPad, both require screenshots. |
| Base Device Uploads | 1 iPhone base size + 1 iPad base size | Apple auto-scales from base sizes to other devices. |
| Recommended Base Sizes (2026) | iPhone: 6.9-inch; iPad: 13-inch | Uploading these avoids scaling issues and warnings. |
| Orientation | Portrait or Landscape | Must match actual app UI orientation. Do not mix orientations within the same device family. |
| Supported File Formats | PNG or JPEG (.jpg / .jpeg) | PNG is preferred for UI clarity and text sharpness. |
| Color Space | RGB only | CMYK, indexed color, or grayscale images are rejected. |
| Transparency | Not allowed | Screenshots must be flattened with no alpha channel. |
| Resolution Accuracy | Must exactly match Apple-approved pixel dimensions | Stretched, padded, or upscaled images often fail review. |
| Image Quality | High-resolution, no blur or compression artifacts | Avoid aggressive JPEG compression. Apple favors clarity over file size. |
| Safe Areas | UI and text must stay within visible safe areas | Content too close to the edges may get clipped on smaller devices. |
| Device Frames | Allowed (optional) | Must not misrepresent device size, UI scale, or layout. |
| Real UI Requirement | Screenshots must show actual in-app UI | Concept designs, mockups, or lifestyle imagery are rejected |
| Device / Display | Resolution (px) | Orientation | Notes |
| 13-inch iPad / iPad Pro | 2064 × 2752 | Portrait | Required base screenshot size for current iPad submissions. |
| 2752 × 2064 | Landscape | Optional landscape orientation to be used in rare cases. | |
| 12.9″ iPad Pro | 2048 × 2732 | Portrait | If 13″ is defined, Apple automatically scales to 12.9″. |
| 2732 × 2048 | Landscape | Optional landscape orientation to be used in rare cases. |
| Platform | Device / Display | Resolution (px) | Orientation | Notes |
| macOS | Mac (16:10 aspect) | 1280 × 800 | Landscape | Common size for Mac App Store. |
| 1440 × 900 | Landscape | Alternative supported resolution. | ||
| 2560 × 1600 | Landscape | High-res support. | ||
| 2880 × 1800 | Landscape | Ultra high-res support. | ||
| tvOS (Apple TV) | Apple TV | 1920 × 1080 | Landscape | Standard Apple TV screenshot size. |
| 3840 × 2160 | Landscape | 4K Apple TV; high-resolution screenshot. | ||
| watchOS (Apple Watch) | Apple Watch (standard) | 368 × 448 | Portrait | Common resolution for many Apple Watch models in the App Store. |
| 396 × 484 | Portrait | Fits larger Apple Watch models (Series 7, 8, 9). | ||
| 410 × 502 | Portrait | Typical for Ultra models and Watch Ultra 2. |
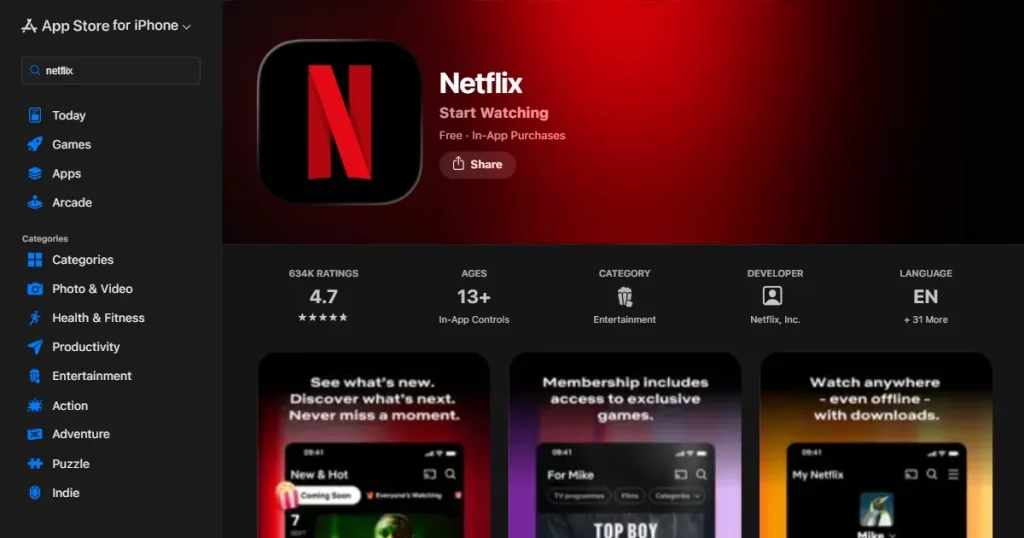
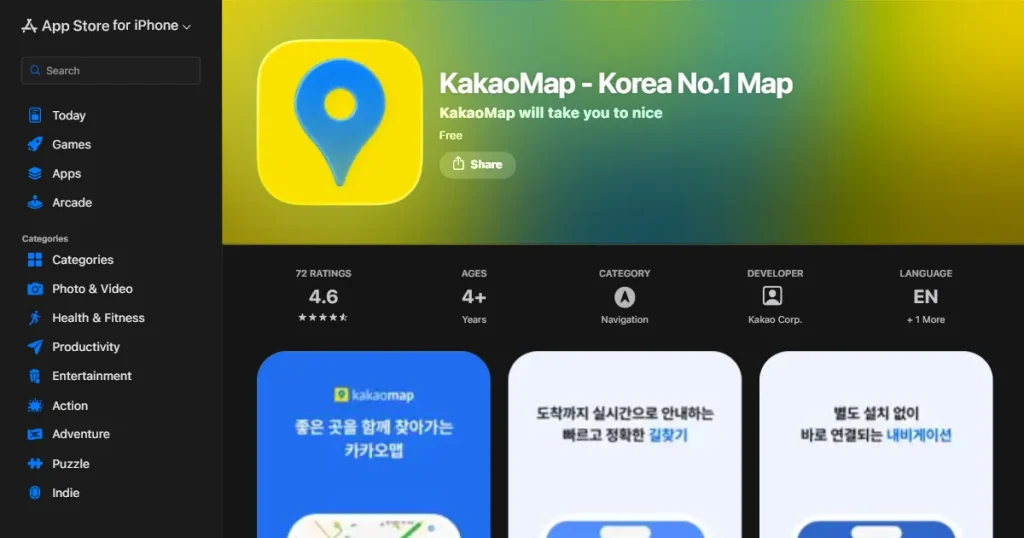
These apps consistently dominate rankings by balancing Apple’s strict iOS App Store screenshot guidelines with high-conversion storytelling. Each example here demonstrates how to communicate your app’s core value within the first 3 screenshots.
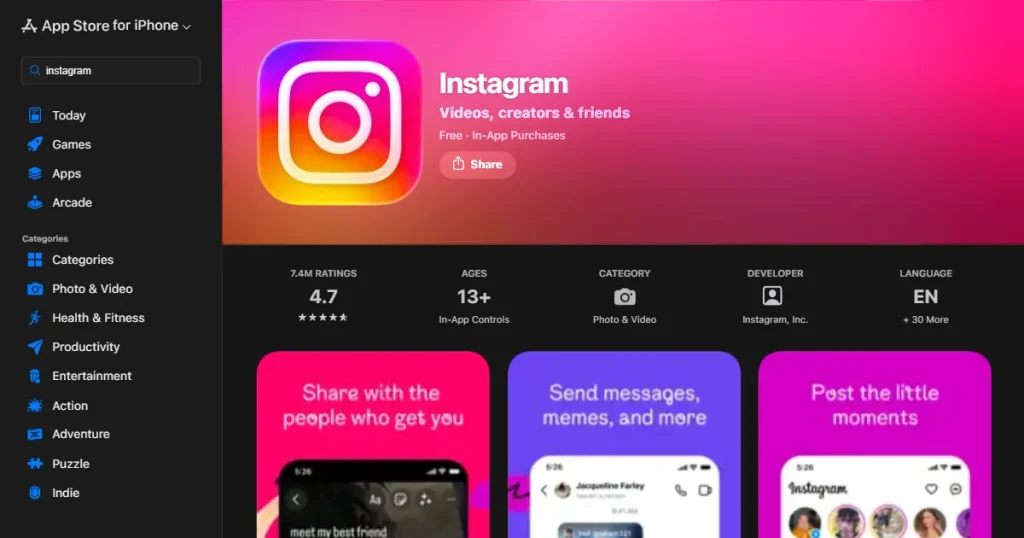
Here’s what Instagram is doing:
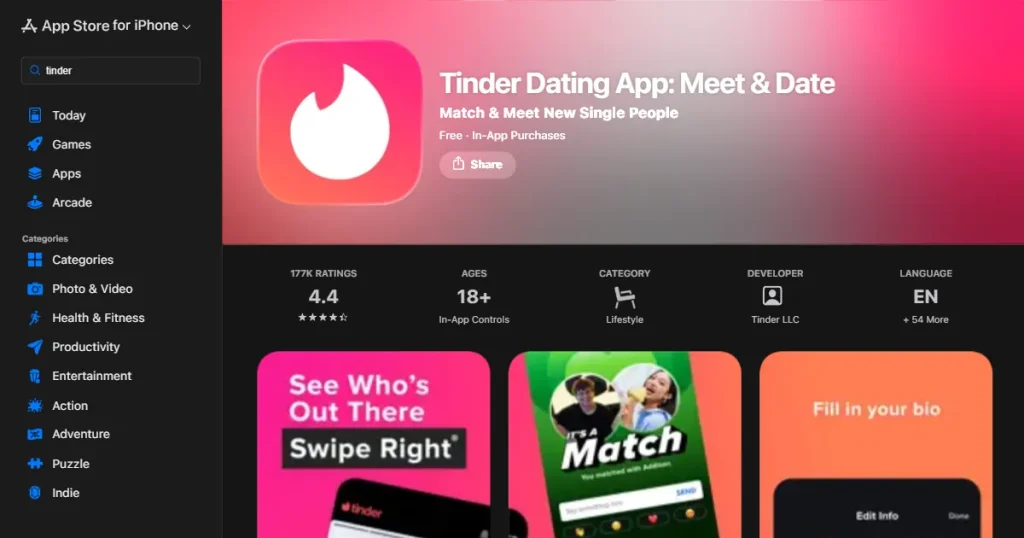
Here’s what Tinder is doing:
Key Takeaway: Focus on creating emotional Impact (e.g., it starts with a swipe) in your first screenshot to trigger an immediate emotional response in your audience.
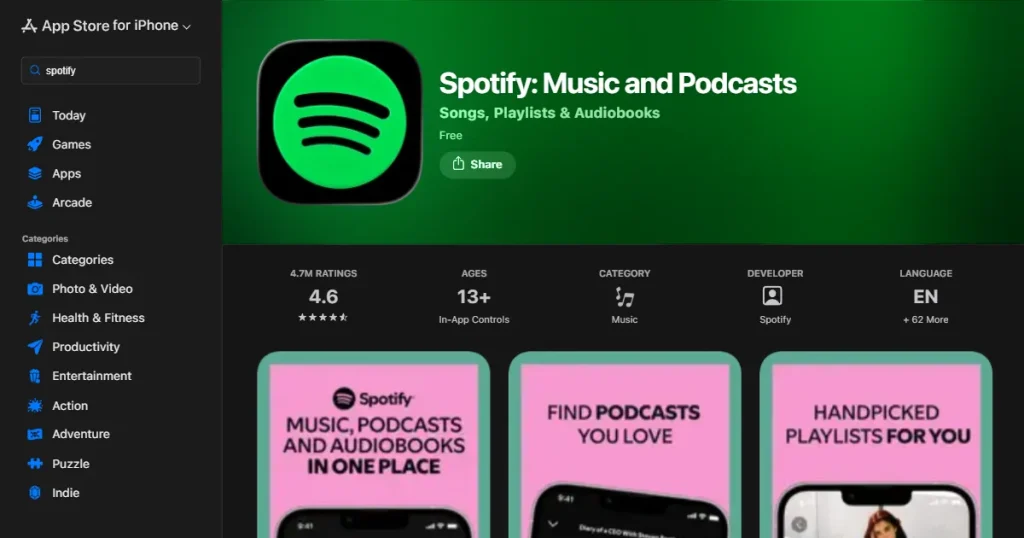
Here’s what Spotify is doing:

Here’s what TikTok is doing:
A/B testing moves your creative strategy from guesswork to data-backed decisions. In this blog, we have divided testing and ASO tools into two main categories: Native Store Tools and Third-Party ASO Tools.
With native tools, you can run ASO experiments directly in the App Store using real and organic traffic.
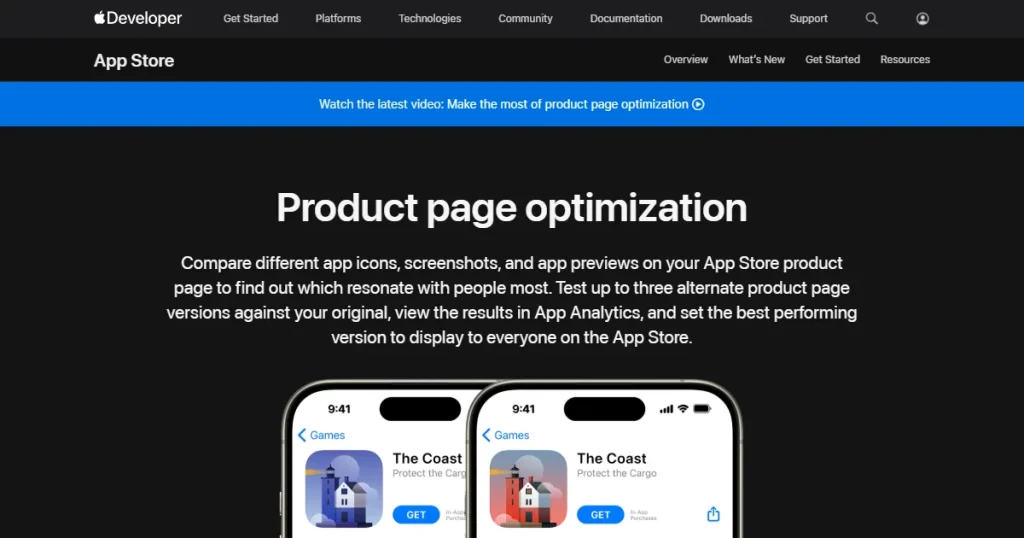
Apple Product Page Optimization (PPO) is a built-in App Store Connect tool that lets you test screenshots, app previews, icons, and more. You create multiple variants of product page assets. You can also split your organic traffic, typically search and browse, to see which screenshot sets achieve the highest conversion lift.
Tip: For localization, use PPO tests to validate your primary screenshots for low risk and high accuracy before committing to a permanent global update.
Third-party ASO tools provide much deeper competitive insights, trend benchmarks, and keyword correlations. These tools are invaluable for startups that need to refine their strategy before testing it with actual users.
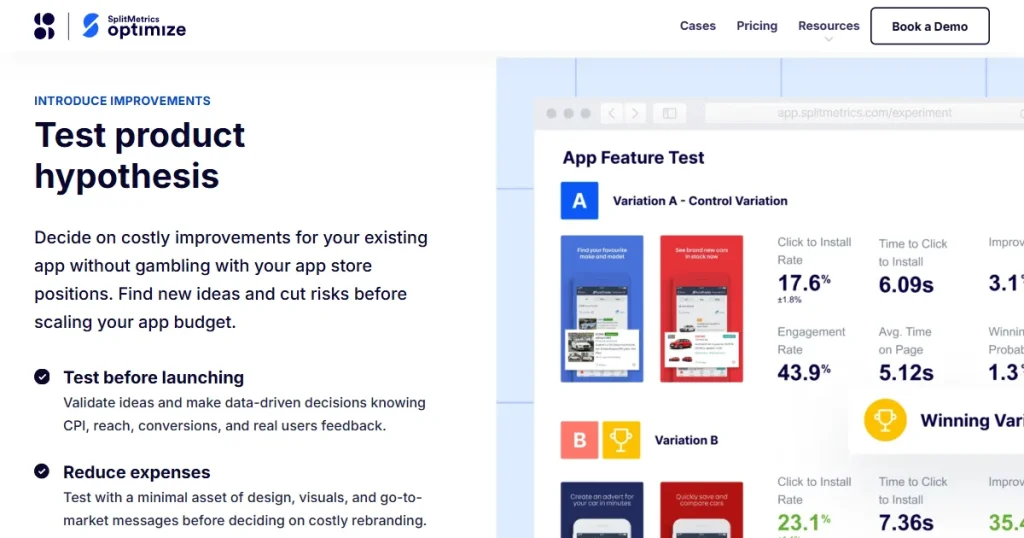
The leader for pre-launch testing. SplitMetrics lets you simulate store listings to test user behavior in a controlled environment, helping you identify which screenshot set will win before you even hit the App Store.
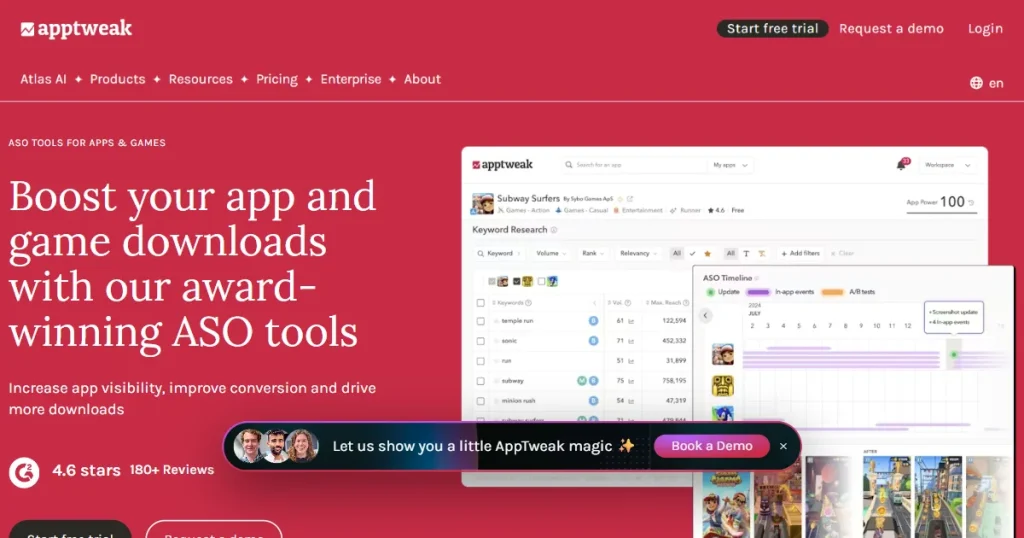
Apptweak, powered by Atlas AI, is best for deep competitor research. It helps you identify trending screenshot patterns in your app niche, keeping you one step ahead of your competitors.
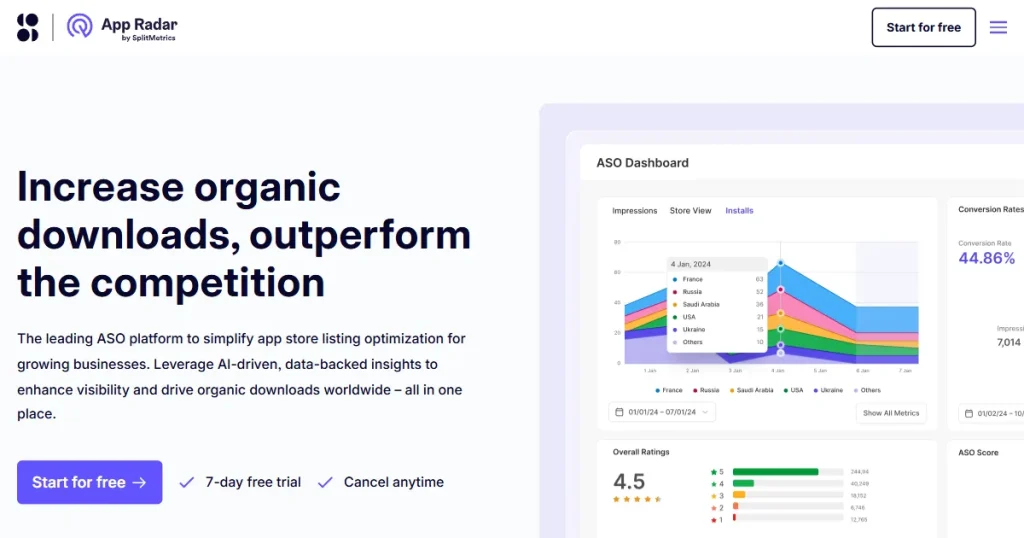
An all-in-one management tool. App Radar offers unique features to track ASO performance and test screenshots for multiple regions, all from a single platform.
When to Use Which Tool?
Screenshot creation has shifted from basic screenshots to a compliance-driven screenshot workflow. The following tools are industry standards for ensuring your App Store screenshots are both beautiful and compliant with Apple App Store screenshot guidelines.
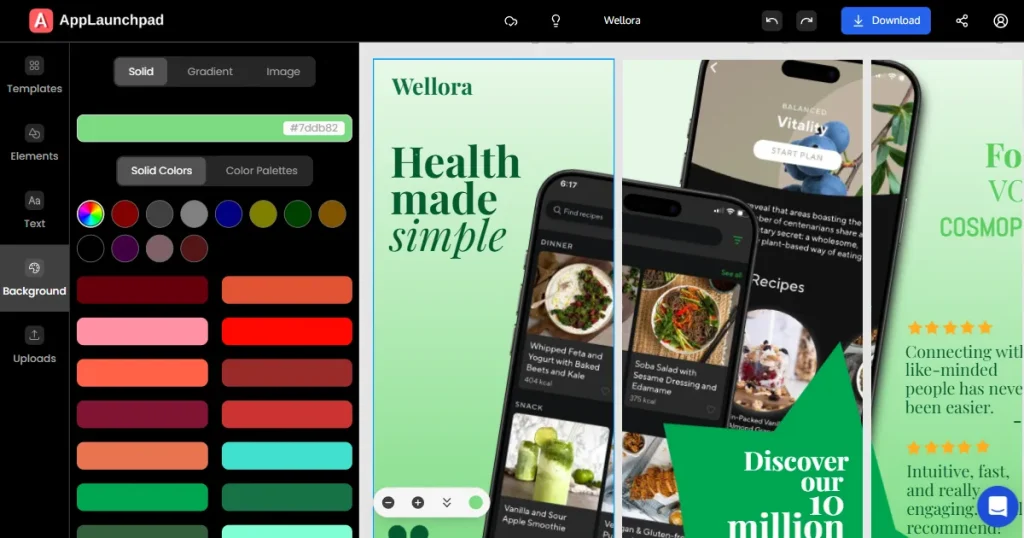
AppLaunchpad is a popular App Store screenshot generator. AppLaunchpad offers pre-designed App Store screenshot templates with the 2026 6.9″ iPhone and 13″ iPad dimensions, ensuring you never encounter an “incorrect resolution” error.
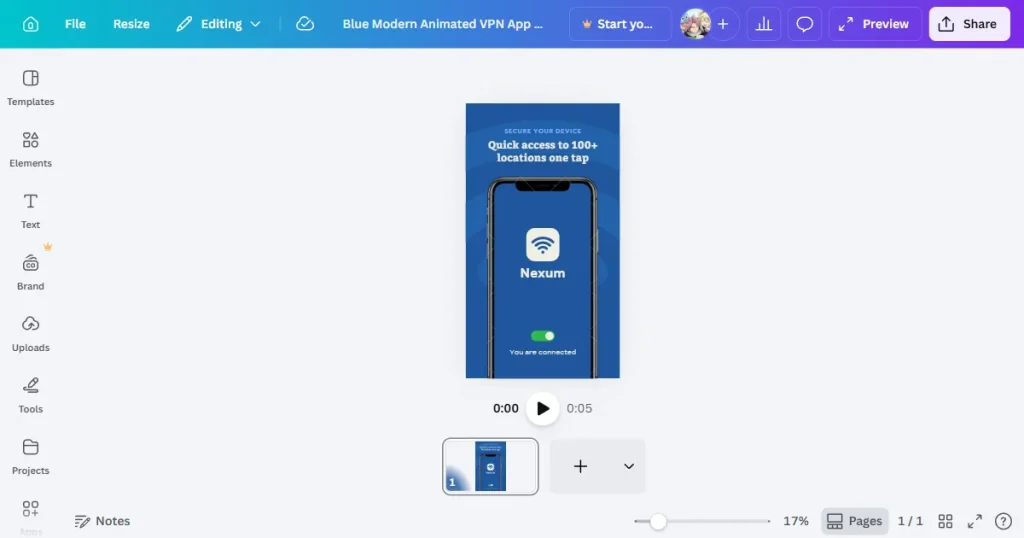
Canva remains the go-to design tool for teams without a designer. Canva offers a massive library of highly customizable device mockups. While it doesn’t provide automated scaling like AppLaunchpad, the AI-powered Magic Switch can help resize layouts across devices.

For apps that update often or support multiple localized storefronts, Fastlane snapshot saves a lot of time. Fastlane captures real app UI screens directly from Xcode simulators, removing the need for manual screenshots.
App Preview videos are short, only 15 to 30 seconds long, but don’t make the mistake of underestimating them. App preview videos autoplay silently in search results, which means users often see them before they read a single word on your screenshots.
| Requirement Category | Apple’s Requirement | Notes & Best Practices |
| Allowed File Formats | .mov, .mp4, .m4v | These are officially accepted by App Store Connect. Using other extensions can cause upload errors. |
| Video Codec / Encoding | H.264 or ProRes 422 (HQ) | H.264 is most common; ProRes 422 HQ is larger but higher fidelity. |
| Maximum Video Duration | 15-30 seconds | Any video shorter than 15s or longer than 30s will be rejected. |
| Maximum File Size | 500 MB per video | Stay well under this with smart encoding to avoid upload failures. |
| Number of Preview Videos | Up to 3 per localization | You can upload up to 3 distinct video previews per language/storefront. |
| Orientation (iOS) | Portrait or Landscape | Must match the app UI orientation you’re showcasing. Portrait previews take a screenshot slot if uploaded. |
| Orientation (tvOS) | Landscape only | Apple TV previews are always in landscape. |
| Orientation (macOS) | Landscape only | Desktop previews are landscape to match the screen ratio. |
| Resolution Requirements | Must match screenshot size for device class | Example: iPhone previews should match the screenshot resolution (e.g., 1290×2796 for 6.9″ base). |
| Real UI Only | Must use actual in-app screen captures | No animations, mockups, staged videos, or filmed device footage. |
| Silent First Seconds | Video must communicate value without sound | Videos auto-play silently on the App Store; captions help clarity. |
| Audio | Optional but not required | If included, make sure it enhances but is not needed to understand the content. |
| Content Allowed | Real app interaction, navigation, core flows | Show tasks users perform, onboarding, main features — no generic promos. |
| Prohibited Content | Stock footage, competitor logos, outside material | Apple rejects videos with unlicensed or external content. |
| Metadata | Must match in-app visuals | Video must reflect the exact current app experience. Apple checks for consistency. |
| Localization | Caption languages must match the storefront | If using text overlays, translate them properly — don’t mix languages. |
| Accessibility | Text captions must be readable | Large enough text size so small screens don’t crop or blur words. |
Apple expects real, on-device screen recordings, exported in supported formats. If your tool can’t capture the app cleanly or export correctly, it’s not worth using. Below are a few tools that developers actually rely on.
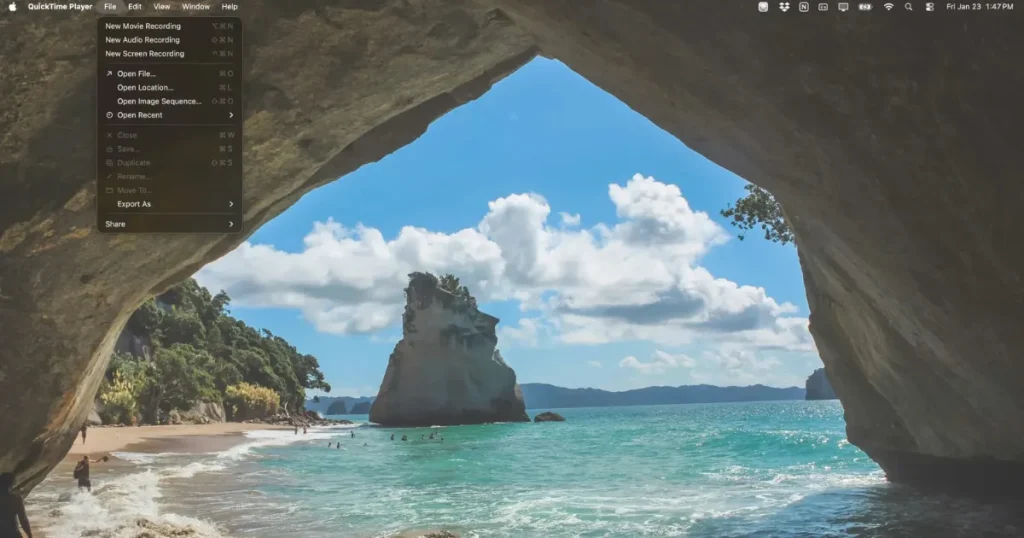
QuickTime is boring in the best possible way. Plug in your iPhone or iPad, hit record, and you get a clean capture at Apple App Store screenshot guidelines accepted resolutions.
No video compression requirement. No need for third-party tools. If you want the closest option to iOS App Store screenshot guidelines, this is it.
iMovie works well once the recording is done. You can easily trim the App preview video, keep things within the 15-30 second duration, and add simple text captions. iMovie won’t give you advanced control, but for most apps, you don’t need it.

Final Cut Pro is for developers who care about speed and polish. Final Cut is especially helpful when your app has multiple app flows or screens that need careful sequencing. Final Cut is probably the best tool for complex apps, but it’s a total overkill for simple, quick videos.
Now, let’s dive deeper into actionable app store screenshots best practices.
Before you hit the Submit button, pause and do a last-minute recap. This step alone can save you from a frustrating 48-hour rejection cycle. Your screenshots and preview videos should be as polished as your code.
In 2026, Apple’s automated checks are stricter than ever, especially around resolution, scaling, and safe areas. Do a quick check on:
After all this, ask yourself: Can a new user understand exactly what this app does in under five seconds?
Technically, Apple allows up to 10 screenshots per device and language. Realistically? Most users won’t see more than the first two or three. If those 2-3 don’t work, the rest don’t matter.
Yes, and Apple is very strict about this. Even though they now ask for just one base size per device family, the UI still needs to look right for that device. An iPad screenshot should feel and look like an iPad app.
The most important App Store screenshot guidelines focus on accuracy, clarity, and real UI representation. Your screenshots must accurately reflect the app experience, use the correct dimensions, and avoid misleading claims.
Apple supports PNG and JPEG formats. No transparency. No fancy exports. RGB only. If your screenshots have lots of UI and text (which they do), PNG is the safer option. It keeps details sharp and prevents compression issues later.
The iOS app store screenshot guidelines recommend uploading screenshots for one base iPhone size and one base iPad size. Apple then automatically scales them for other devices. However, your screenshots must still match the correct resolution and aspect ratio to avoid quality issues.
App store screenshots best practices involve focusing on clear messaging, strong visuals, and a structured flow that quickly communicates your app’s value to drive installs.
There’s no winner here. Portrait works well for most apps because it shows more screenshots in search results. Landscape makes sense for games, video tools, or anything meant to feel immersive. Just make sure you don’t mix both for the same device.
Plain, honest text overlays work best. Explain what the app does. Avoid hype, slogans, or salesy lines like “Download now” or “Best app ever.” Apple doesn’t encourage them, and users don’t trust them anyway.